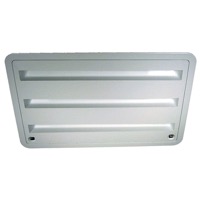
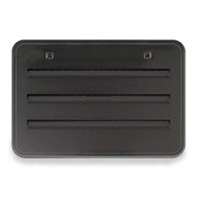
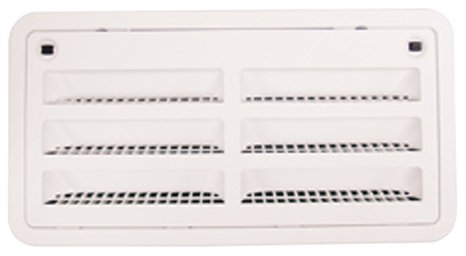
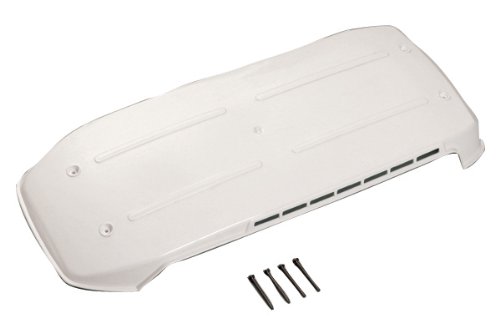
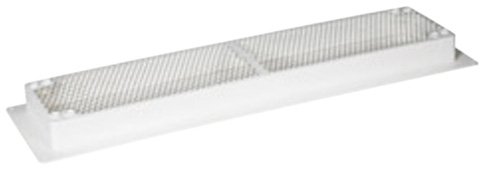
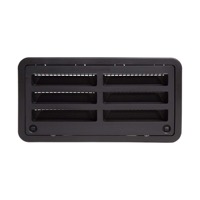
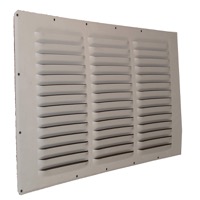
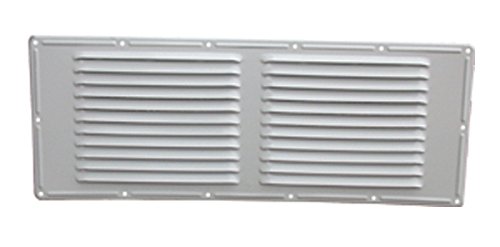
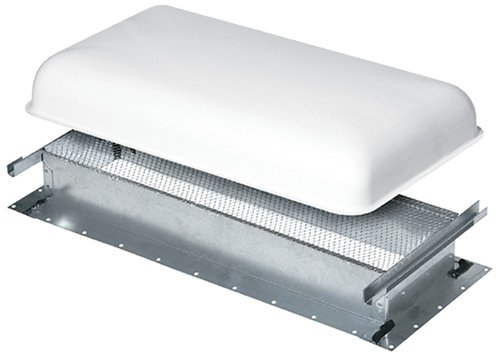
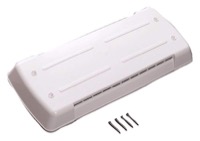
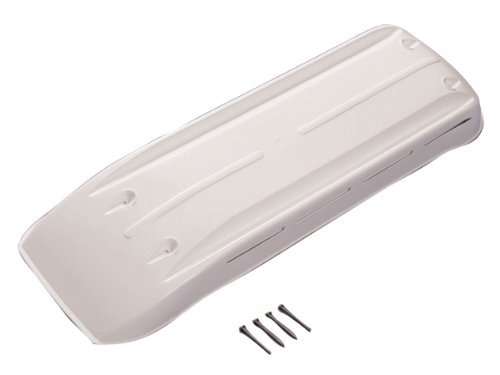
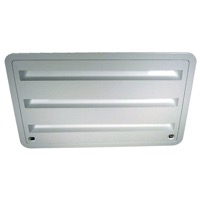
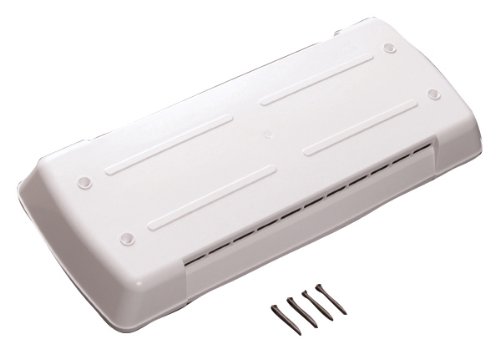
Every RV has an RV refrigerator side vent. It will also have an upper refrigerator vent that may be a side vent or a roof vent.

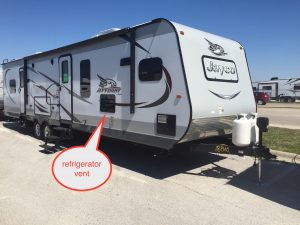
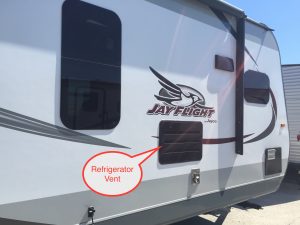
The Outside RV Refrigerator Side Vent & Drain
On the outside of almost any RV of any type will be vents for your RV refrigerator.
There are two types of RV refrigerator vents:
- An upper RV refrigerator vent to release hot air from the cooling process into the sky (and carbon monoxide). There are two locations for the upper vent:
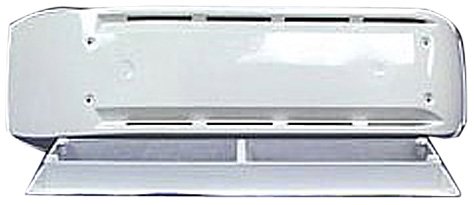
- Roof mounted upper vent
- Side mounted upper vent (smaller RVs and campers – smaller refrigerators that only are 2-3 feet tall)
- A lower RV refrigerator vent to allow air intake so that air can easily flow from lower to upper.
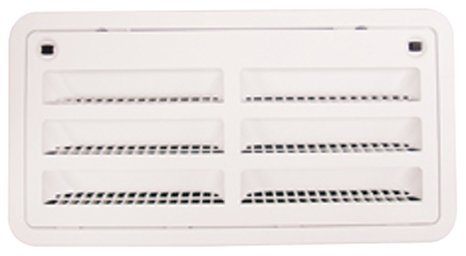
- Dometic RV Refrigerator Vents
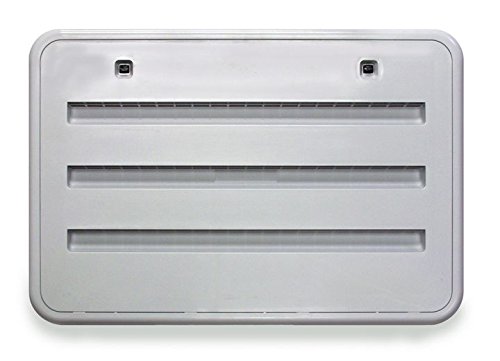
- Norcold RV Refrigerator Vents
RV refrigerator drain hose and why you need one
In the lower side vent you’ll be able to see, usually, a small tube coming out of the vent. This tube is to drain “condensate” caused by people opening the refrigerator door and water vapor from the warmer room temperature air getting inside the fridge.
This warmer air condenses ( hence the word ) from vapor into water. If you let it build up, you’ll get an icy wet mess. Therefore, a drain exists to drain off the water. Sometimes ours gets iced up because the drip pan in the refrigerator is very close to the cooling element or heat exchanger. So it is important to check for ice and make sure you see a regular little drip outside.
RV refrigerator vents and why you need two of them: and upper and a lower
The refrigerators themselves do put off heat from the cooling process (long explanation) so a vent to the outside keeps the refrigerator cool and when using LP gas safe and free from carbon monoxide.
Stated differently, the refrigerators can also refrigerate using LP gas in what is called a gas absorption mode of operation. For that a vent to the outside is probably even a better idea, just based on safety.
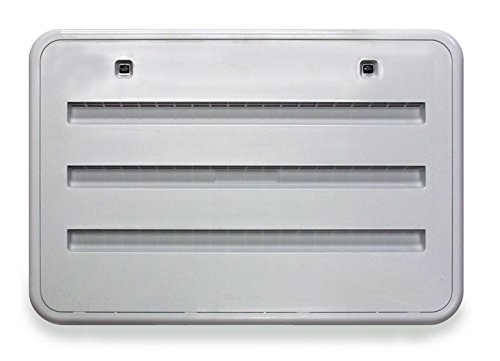
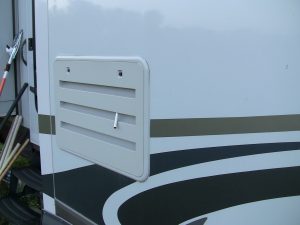
So, if your RV has a fridge, you should be able to find this rv refrigerator side vent and you should be able to find a drain tube somewhere. Here is a picture of one for you to reference :

RV refrigerator vent maintenance:
Refrigerator vent maintenance isn’t too difficult. On the side vents especially, just make sure that the vent is clear of leaves and other things that prevent any kind of stoppage to air flow. BE CAREFUL – wasps might enjoy making highly protected nests in there too. Maybe this is a great late fall/winter check. I hate wasps.
Occasionally, if you have a roof vent, simply check to make sure that the vent is secure to the roof and not allowing leaks. A quick check in the ceiling around the refrigerator with a critical eye can help ward off leaks that could go from small to big problem.
Look for the drain tube and make sure that the drain tube is able to drain water easily.
If the vents are YELLOW and BRITTLE, why not go ahead and replace them early. I’ve noticed that they are not expensive.
Replacing the RV refrigerator side vents:
MAKE SURE you have the right replacement size ready to go BEFORE you remove the old vent. I’m just saying.
You can remove the faceplace by turning the plastic turn tabs and the faceplate comes right off.
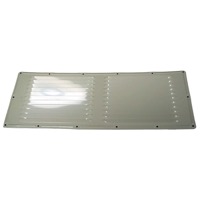
To remove the vent assembly you do two things: 1) remove the screws holding the vent in and 2) remove any sealant keeping the vent in place.
Pull the vent out.
Clean the sealant off of the RV as much as you can.
Put new sealant back using a caulk gun & recommended sealant.
Put in the vent.
Replace the screws.
Place the faceplate into the vent and turn the plastic turn tabs.
Here is one of the better sidewall RV sealants (don’t use on the EPDM rubber roof!):
Sheri and have used this caulk gun and it is VERY VERY VERY good. I love it.
Find replacement RV refrigerator roof vents:
24 Search Results for RV Refrigerator vent
Search Results
Need Help?
 24/7 Help
