Replacing an RV power converter is easier than you think. This article shows you how easy it is to replace in text, in video, and in pictures. I really worked hard at this tutorial! When you have read this and watched the video you will feel confident that you know how to replace an rv power converter.
Find an RV Converter Size Calculator and RV Converter Comparison Tables Here
So, rv power converter replacement, especially with a deck mounted version like I have below here, is NOT hard. You don’t have to spend an extra $500 to do it if you have a little spare time.
If you really, really want to talk with someone or correspond real-time, you can try this only 24/7 RV repair technician service.


Replacing an RV Power Converter How To Video:
Just recently I had the joy of replacing an RV power converter. I thought I’d say a little bit about it.
If you think about it, I replaced the entire DC power converter system at RV52.com world headquarters.
Find an RV Converter Size Calculator and RV Converter Comparison Tables Here
How did I know I had to replace the RV power converter
How did I know I had to replace my power converter?
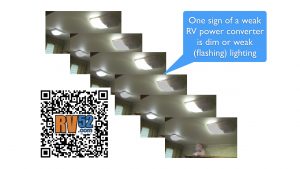
My lights were flickering!
When I woke up the following morning to get me some delicious drinks from the refrigerator, the light in the refrigerator was dim too. Then from underneath the stairs separating the 5th wheel bedroom from the rest of the RV, I heard a buzzing noise.
I thought I had a rattlesnake underneath my stairs (this would be called hyperbole).
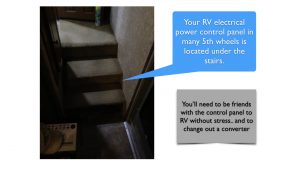
When I looked underneath the stairs, I found my electrical control center which consists of a fuse box and breaker box. That wasn’t the problem, but it was close to the problem, both electrically and physically.
I finally traced the buzzing noise to my power converter and it was located underneath the stairs.
Steps to change the RV power converter
Time needed: 2 hours.
Here are the BASIC steps to replace an RV power converter which is deck mounted in “quick hitter” outline form. I will go into greater detail lower in the article if you need that kind of detail.
- Have your new power converter IN YOUR POSSESSION!
Make sure you HAVE a replacement power converter!!! Don’t take your system apart and not have one already
How big does your RV power converter need to be *OR* how many amps do I need with my RV power converter?
RV52.com has made an rv power converter calculator. Try it out – it is free.
If you already KNOW the converter size you want, start here with a set of easy to use power converter comparison charts. - Remove the OLD converter from the RV DC power system
Flip the breaker switch in the RV control panel to the OFF position.
REMOVE the battery electrically from the RV DC system Disconnect the 12 VDC battery’s (+) Positive terminal from the RV 12 VDC positive cable *OR* engage the battery disconnect switch
Unplug the AC power cord for the converter from the RV
Unscrew the 12 VDC wires from the 12VDC terminals of the old converter
Unscrew the ground wire from the old power converter
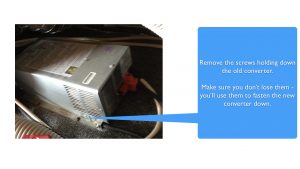
Unscrew the old converter’s screws that keep it in place in the RV Don’t lose those screws! You’ll use them to hold down the new converter.
Your old converter can now be removed! - Place the new converter in the place where the OLD converter was
Screw down the converter so it stays in place Use screws from the old converter. Fasten it down because you’ll be bumping around.
Reconnect the ground wire to the new converter.
Reconnect the 12 VDC wires to the 12VDC terminals of the new converter
Reconnect the AC power cord Plug the new converter into the same spot you unplugged the old one from.
Reconnect the battery to the RV DC system Reconnect the 12 VDC battery’s (+) Positive terminal to the RV 12 VDC positive cable
*OR* disengage the battery disconnect switch
Turn the breaker switch in the RV control panel to the ON position.
The replacement RV power converter is installed! - Check around the RV to make sure everything is working
You can check the voltages and any power converter indicator lights to ensure everything is working.
Understanding RV power so that the RV power converter makes sense
Before we go too much further, in case you’re not a converter expert, I think I’ll tell you what I learned and about the RV power system.
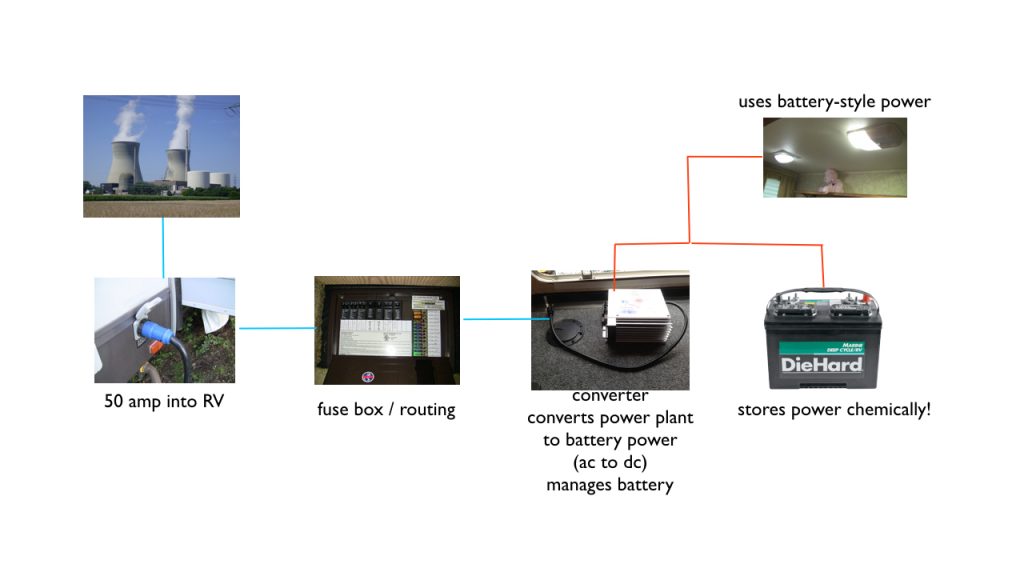
RV power system basics
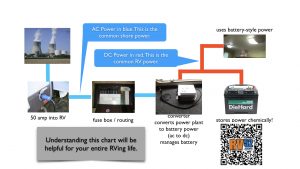
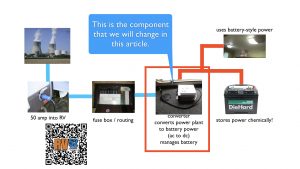
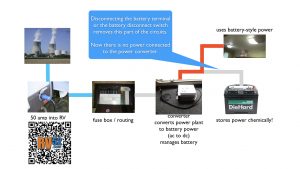
Power to an RV looks like the illustration I’ve drawn. First off, power roars around the United States and Canada and wherever you might be, but in my case, it’s United States, and more specifically Texas.
The power from the country power system eventually gets to an electric plug, usually a 50 amp plug, which then sends power into the RV. Now, keep in mind at this point, its power-plant-style power, and if you’re going to be an expert, that’s called AC power. The AC is an abbreviation for Alternating Current.
That AC power goes into the breaker box for routing to different places in the RV that use AC power. This would be things like the microwave, the TV, the outlets, and the air conditioner.
Then the AC power also goes to a power converter. You’ll see this reflected in the lines in the drawing. The power converter then sends DC power to the fuse box which in turn routes the DC power throughout the RV.
RV power converter basics and where it connects in your system
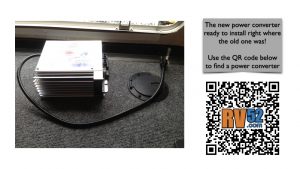
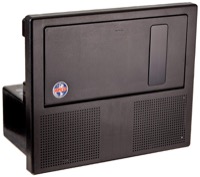
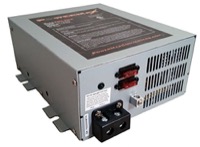
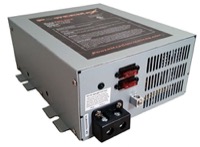
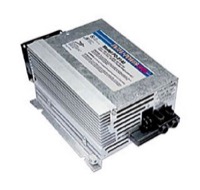
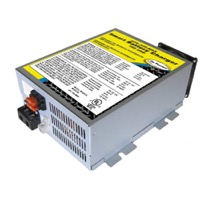
This is a picture (in the video and above) of the converter I’m going to put into my RV that replaces the bad converter.
A converter needs to work with a battery. The battery in an RV will store power chemically inside the battery. The power comes from the converter which converted the AC power to DC power. Batteries use DC power only.
Find an RV Converter Size Calculator and RV Converter Comparison Tables Here
That chemical power is available for you when the RV isn’t hooked to shore power. You can do an awful lot on a battery.
The battery-style power, which is called DC (direct current), goes from the converter to the battery to charge the battery and supply DC power for all the DC powered RV accessories.
Many of your systems on your RV will use 12 Volt DC battery style power –your refrigerator igniter, your thermostats, your lighting, your igniter for your furnace, your igniter for your hot water heater, your audio systems, water pressure pump and more.
If you refer to the power systems diagram you’ll see the blues lines ( first picture in this article), AC power plant style power connect to the red lines, which is 12 VDC battery-style power. But they connect via the RV power converter. For this conversion process and management of the power in the battery you have to have a power converter.
Let’s get started on the basic steps to replacing the power converter.
Kill the power to the converter
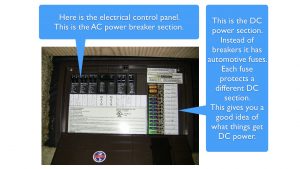
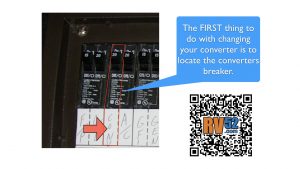
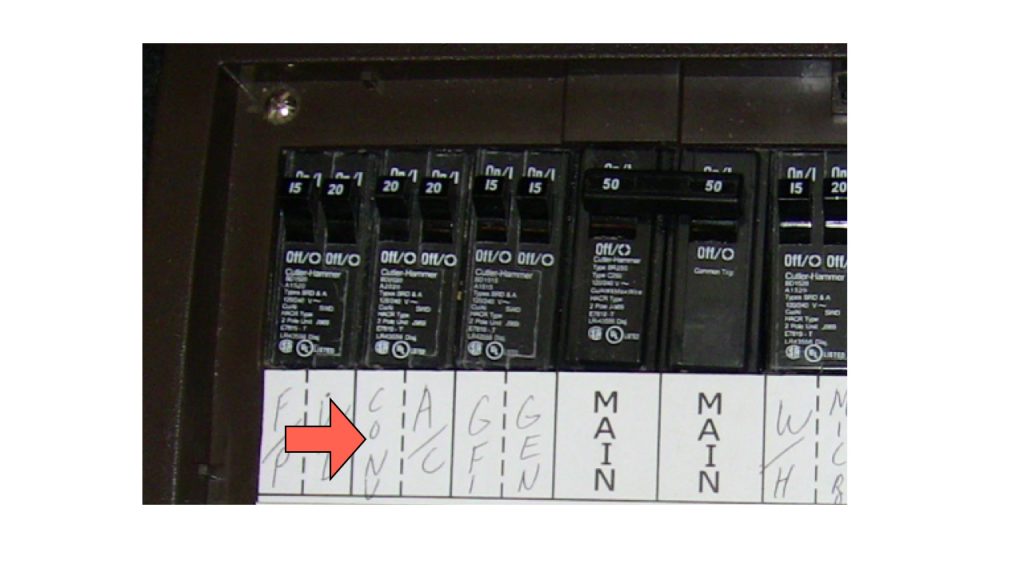
First thing you’re going to look in this fuse box, or your breaker box, and you’re going to look for something marked C-O-N-V.
Open Range marked this in their factory for me, which was very nice of them. This marked breaker you see in the picture is the power converter breaker.
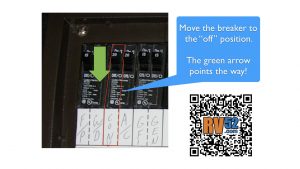
Once you found the breaker, you just move the breaker to the off position in this direction.
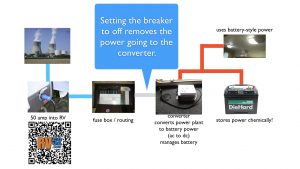
Pretty easy. What “flipping the breaker” does is to eliminate the path between the fuse box and the converter where the blue arrow points (referring to the diagram again). In other words, no AC power is now flowing to your power converter.
Remove the connection to your battery – Step 2
If you connected a wrench from the positive terminal to the negative terminal of a 12 Volt battery, one, it would get spectacular, and it can even melt things. A 12 volt automotive battery can melt wrenches.
The 12 Volt batteries got a lot of “hoss” (hoss is Texas-speak for very strong power) in them. I have lots of respect for them. You should have respect for AC too, but a lot of people don’t have any respect for DC. I’m just telling you, 12 VDC can do amazing things – dangerous things.
So, my advice is to remove the batteries POSITIVE connection so that the battery is not remvoed.
Engage the battery disconnect switch if you have one – Step 3
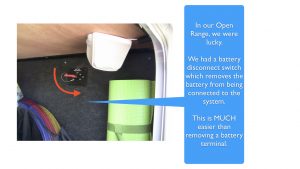
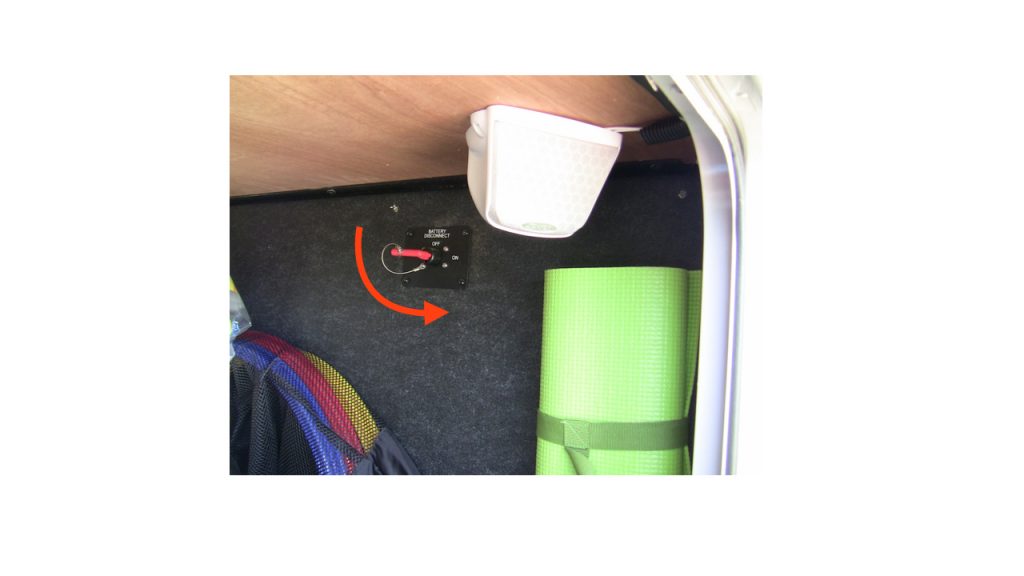
What I like to do next is, and I’m fortunate that in my RV that Open Range actually thought ahead and put in a battery disconnect switch.
I rotate it from the on position to the off position. That’s convenient for a lot of reasons, but in particular it was convenient for me to take the battery off line. If you have this little switch you don’t really need to remove the positive terminal from the battery which is why I also called this step 2.
Now on the right hand blue arrow (refer to the original picture of the rv electrical system), that breaks that connection. My blue converter is connected only to appliances and things that need electricity and so my converter is completely isolated, safe for me to take in and out and that’s what I did.
Your RV air conditioner controls itself from the DC power – for the thermostat
This was a little bit of a surprise. In retrospect it wasn’t, but from one perspective I would have expected the AC powered air conditioner to have its thermostat controlled off of AC power (via a small transformer) as well.
The air conditioner runs off AC, but the voltages that power the thermostat–which is 24 Volts DC in a regular house, but just 12 DC in an RV. When I disconnected the battery and the converter, this killed the 12-volt power completely, the thermostat turned off and consequently shut off my air conditioning.
My surprise was that the air conditioner still had AC power so I expected it to continue to run. But from an RV manufacturer perspective it is more economical to simply use the 12 VDC power that is already available rather than put in something that would work with AC power. I’m rambling a bit. Plus you want the thermostat to work with the furnace which can KIND OF work without AC power.
Word of the wise; if you can avoid doing this on a hot day, you will enjoy life a little bit more. This won’t take long.
Enter the area where your old RV power converter is installed – Step 4
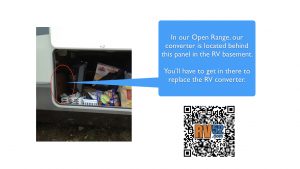
Inside the 5th wheel basement, behind the little wall lies the power converter. This is a common location for 5th wheels to locate the converter.
Remove the 12 volt power connections from the converter
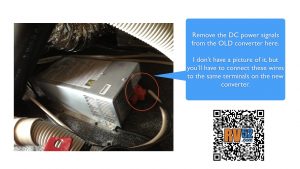
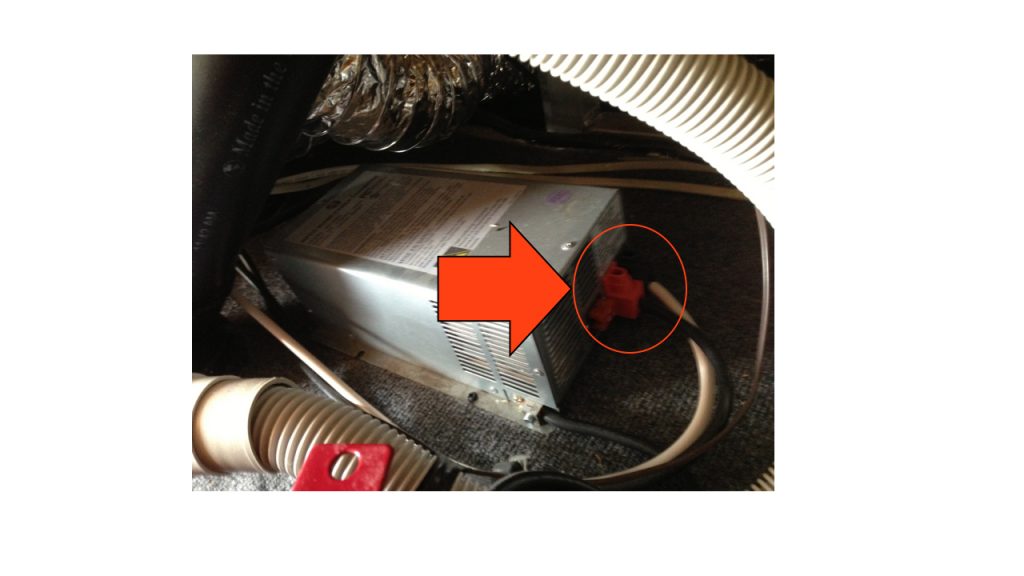
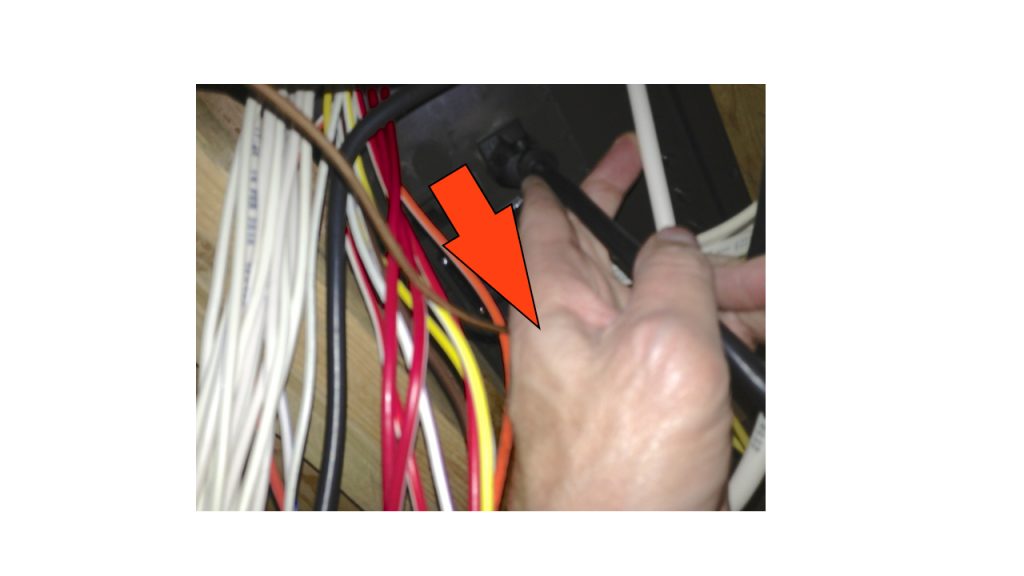
In the picture above you can see the old converter. The arrow is the connection to the battery.
The 12VDC connections to the RV power converter are pretty simple. Just two wires connected with an Allen wrench.
I did have to go buy very good Allen wrenches because they were torqued on so tight that I couldn’t get them off with a regular Allen wrench. I twisted and broke two allen wrenches.
If you examine closely converter’s plugs you will see it is a positive for the positive of the battery and a negative for the negative of the battery. Don’t get those mixed up when you put them back on the new converter.
Unplug the RV power converter’s AC power cord
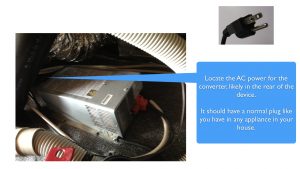
Somewhere back there in the RV basement’s dark recesses is a black power cord, which I thought was going to be more intricate with complex wiring. The wiring turned out to be simply a 110V AC plug, same as the vacuum cleaner in your house.
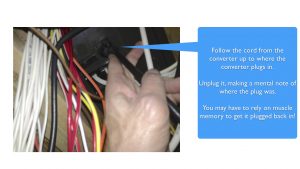
I had to reach up underneath to unplug the power converter through a hole and pull out the AC cord once I found where it was plugged in.
Don’t pull the power converter AC plug out until you mentally memorize where it went in and the orientation of the plug, or you’ll regret it because mirrors and a mechanics camera can only take you so far. It’s a very tight space. At least in our RV.
Remove the ground strap from the RV power converter
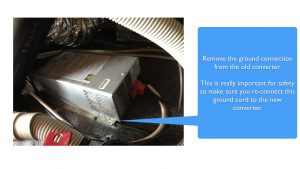
There exists a ground wire, which connects the ground of the converter to the ground of your RV, making this metal box converter safe. I think that’s a good idea to always to make sure you fasten the grounds.
Put the new replacement converter in where the old converter was
Here’s the new converter.
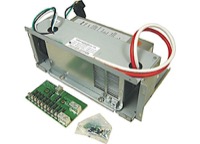
The new converter looks almost identical to the old converter. This is a Progressive Dynamics RV power converter which is a pretty slick little converter. Everybody talks about how great it is in the verified Amazon reviews. That’s what I bought. Got if off Amazon. I’ll have a link to it for you. (/converter)
Find an RV Converter Size Calculator and RV Converter Comparison Tables Here
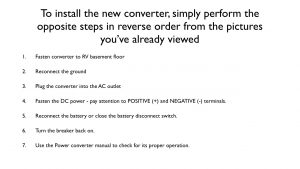
To INSTALL the new converter, you will simply REVERSE the steps above.
Steps for installing the new power converter
I listed the steps, in reverse order for you here so you see what you have to do. This is a repeat of the second half of the earlier summary table. I placed it here so contextually you would have the steps in the right spot in this article.
- Screw down the converter so it stays in place
- Use screws from the old converter.
- Fasten it down because you’ll be bumping around. I left that step out (removing the screws that hold down the converter)
- Reconnect
- the ground wire
- 12 VDC wires to the terminals of the new converter
- AC power cord – Plug the new converter into the same spot you unplugged the old one from.
- Reconnect the 12 VDC battery‘s (+) Positive terminal to the RV 12 VDC positive cable *OR* disengage the battery disconnect switch
- Flip the breaker switch in the RV control panel to the ON position.
- Success. The replacement RV power converter is installed!
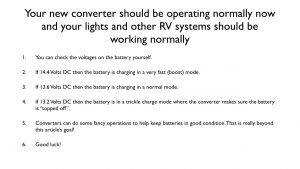
Now you have a Brand new power converter, just like you had with the old one.
Everything should be working 100%.
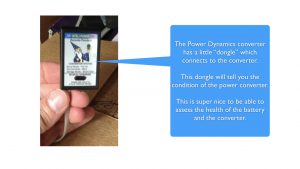
One nice thing you get with the Power Dynamics converter is a little box which by observing the little LED lights you can tell what mode the converter is in.
RV Power Converter Voltages – Measure from an Ammeter
If you don’t have an ammeter – don’t be silly – get one: Here are highly rated 4-star or higher ammeters from Amazon.
In general, if the RV converter is charging the battery in “boost” which is a fast charge state it will be nearly 14.5 volts.
If the battery is barely charging which is the NORMAL extended state when on shore power it is like 13.2 volts – like a battery maintenance charge.
When the battery is charging normally, it will be 13.6 volts.
When the battery is powering the DC appliances and there is NO shore power, the voltage will be 12 VDC or less.
So you can check the voltage on the battery to see what the converter is doing. You would need a volt meter to do this.
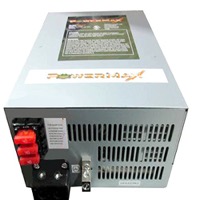
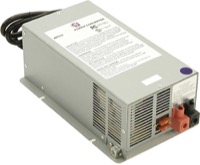
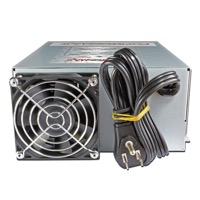
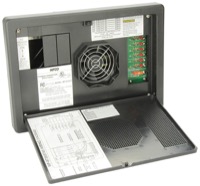
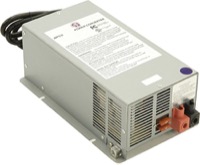
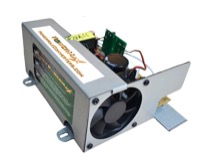
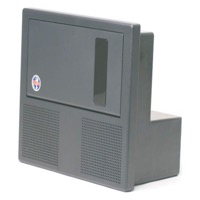
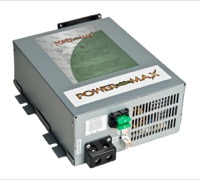
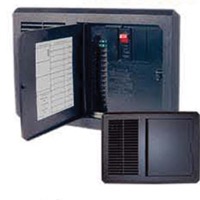
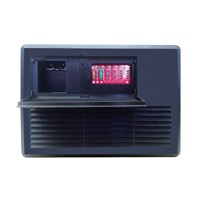
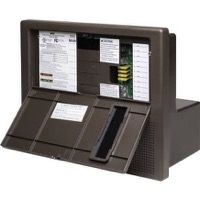
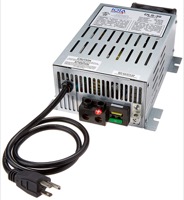
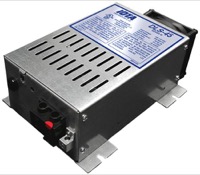
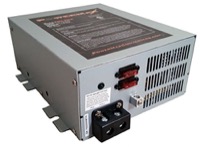
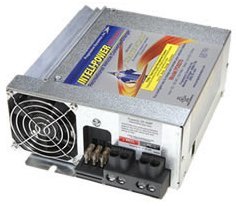
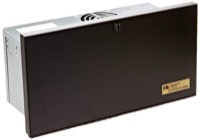
RV power converters:
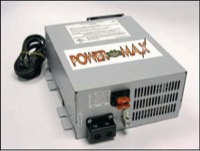
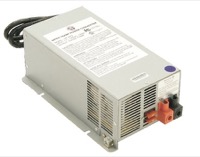
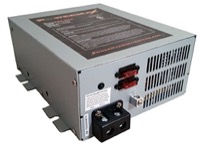
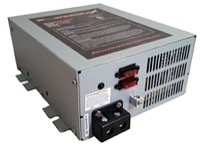
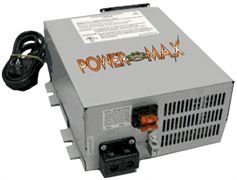
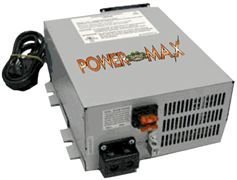
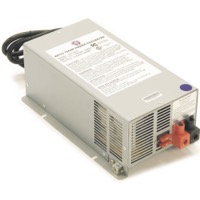
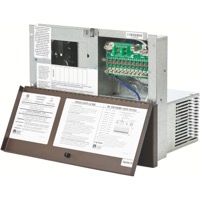
48 Search Results for RV Power Management Power Converter
Search Results
Need Help?
 24/7 Help
Power Management
Power Converter
Main Unit 55 Amp
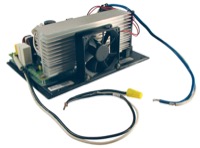
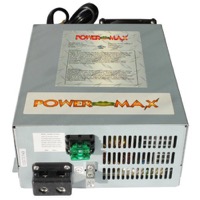
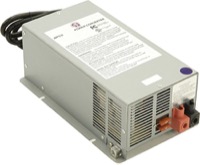
Parallax Power Supply 081-7155-000
 AmazonWalmarteBay






David Bennett says
Thanks man I’m a electrician by trade but 12v systems are a different animal for me so u have helped alot
Anthony Deluca says
my mother has a 2011 open range trailer and her ceiling lights all of a sudden have started to pulsate and people are saying it could be the inverter. I have looked online at several different websites and still cannot find this elusive inverter. I have checked in the belly of the trailer and found aware of the power comes in from the outside 120 V telephone pole, I have traced the wires from the battery which appear to go into the frame of the trailer and I have looked where the fuse panel is underneath the steps that lead to the back bedroom and still I cannot find this power inverter. Does anyone know where it is?
Marlan at Rv52 says
Our Open Range 5th wheel had the CONVERTER (not inverter) in the 5th wheel basement by the furnace approximately underneath the stairs. On travel trailers, often times the converter and the fuse box are mounted together.
If you need a mechanic online : try this – http://rv52.com/rvhelp
Don says
can we upgrade from 50 amp converter to 80 amp ?
Marlan at Rv52 says
Sure. As long as you have the physical space for it. Here is a link to my power converter selection guide for 75 Amp converters: http://rv52.com/all-about-rvs/how-to-video/how-to-all-about-converters/comparing-75-amp-rv-power-converters/
Selection was a bit better @ 80.
Also, here is my power calculator: http://rv52.com/all-about-rvs/how-to-video/how-to-all-about-converters/power-converter-size-calculator/
Kim Martin says
Oh my goodness. I have an open range and these directions were so easy to follow. I marked all of my cables since open range isn’t standard red positive black negative and continued to follow these very easy directions. I lost my heat, my lights flickered and my refrigerator said low dc. The tall tale sign was my bathroom fan. I picked up the converter and replaced it in about 20 minutes. THANK YOU!
Marlan at Rv52 says
Thank YOU for letting folks know. I appreciate your kind words.