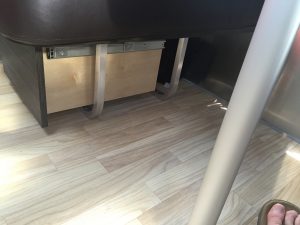
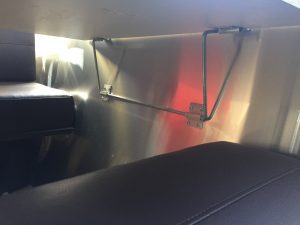
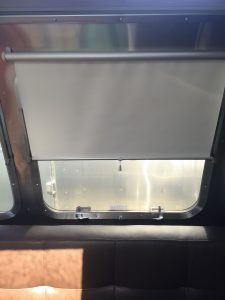
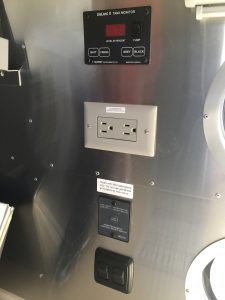
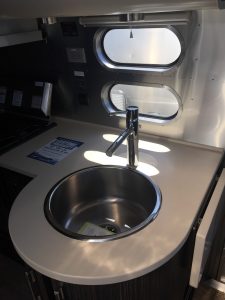
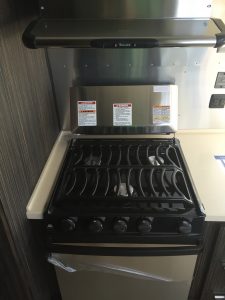
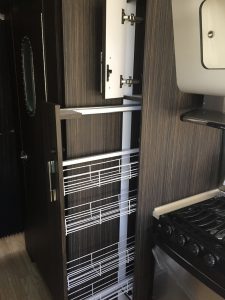
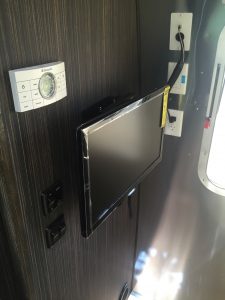
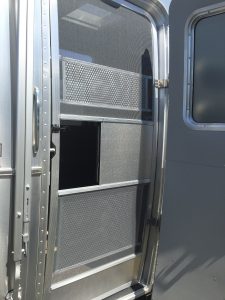
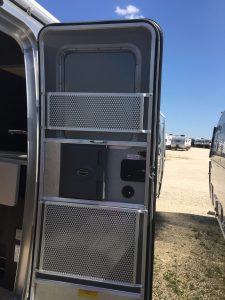
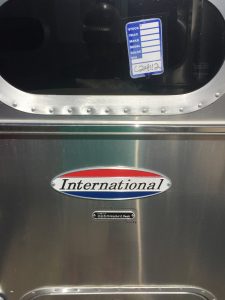
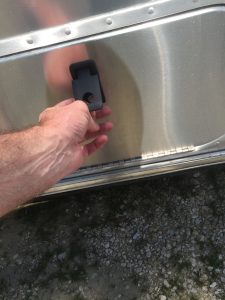
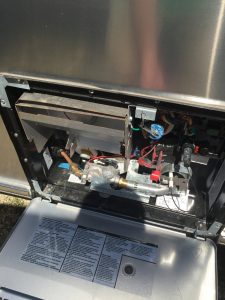
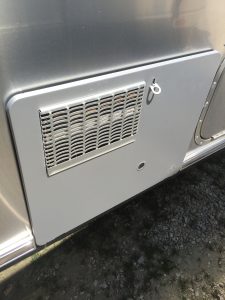
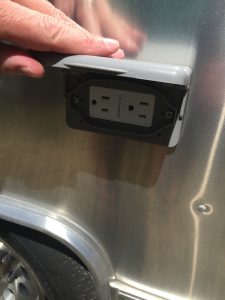
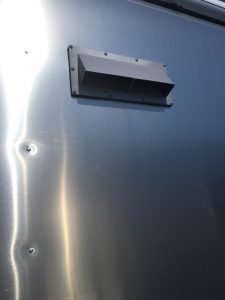
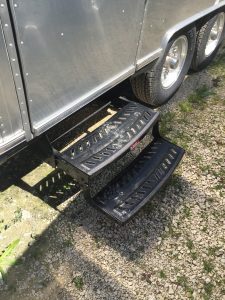
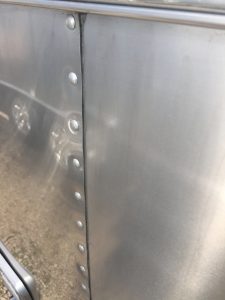
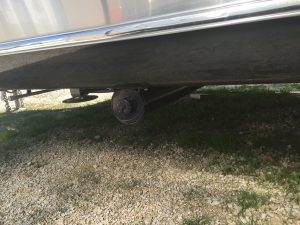
I had these photos of an Airstream International in my camera. Why not post them online?



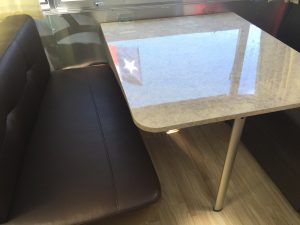

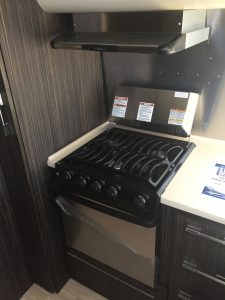
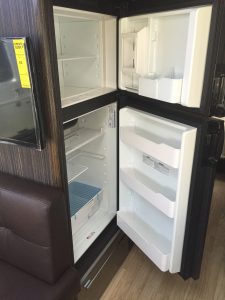
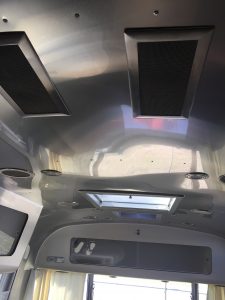
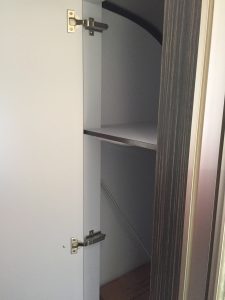

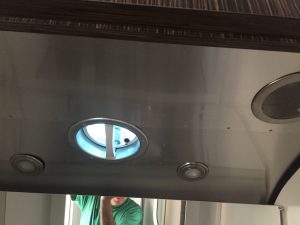

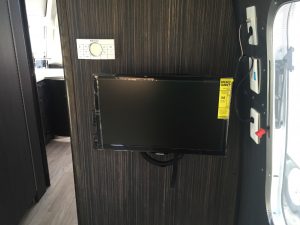
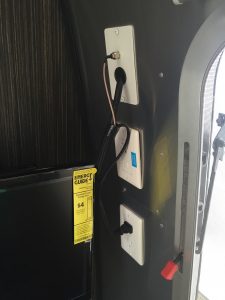
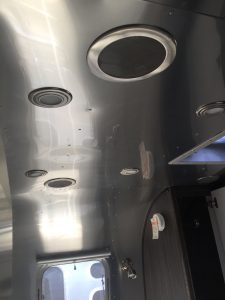


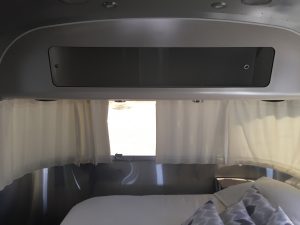
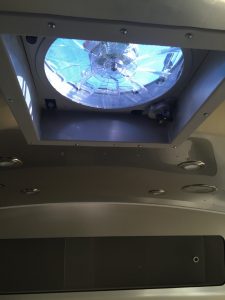
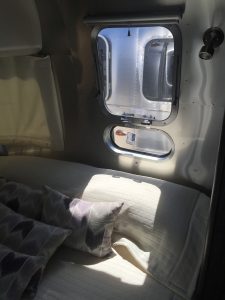










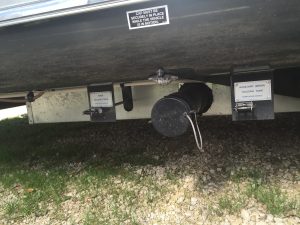

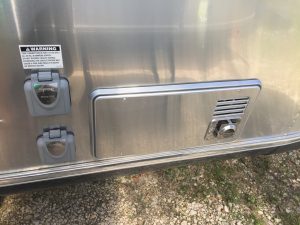

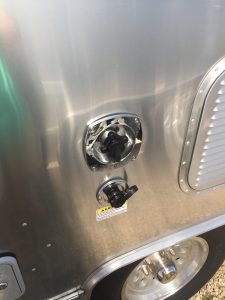


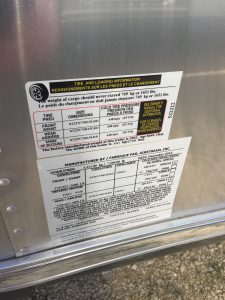




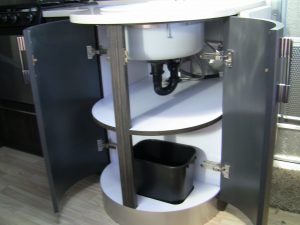


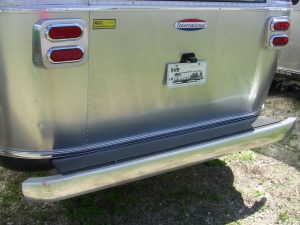




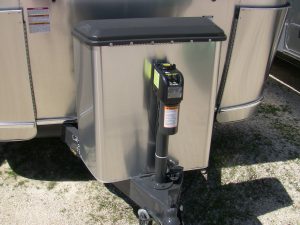

I had these photos of an Airstream International in my camera. Why not post them online?


Last updated on July 28th, 2017 at 10:12 pm
RV52ers,
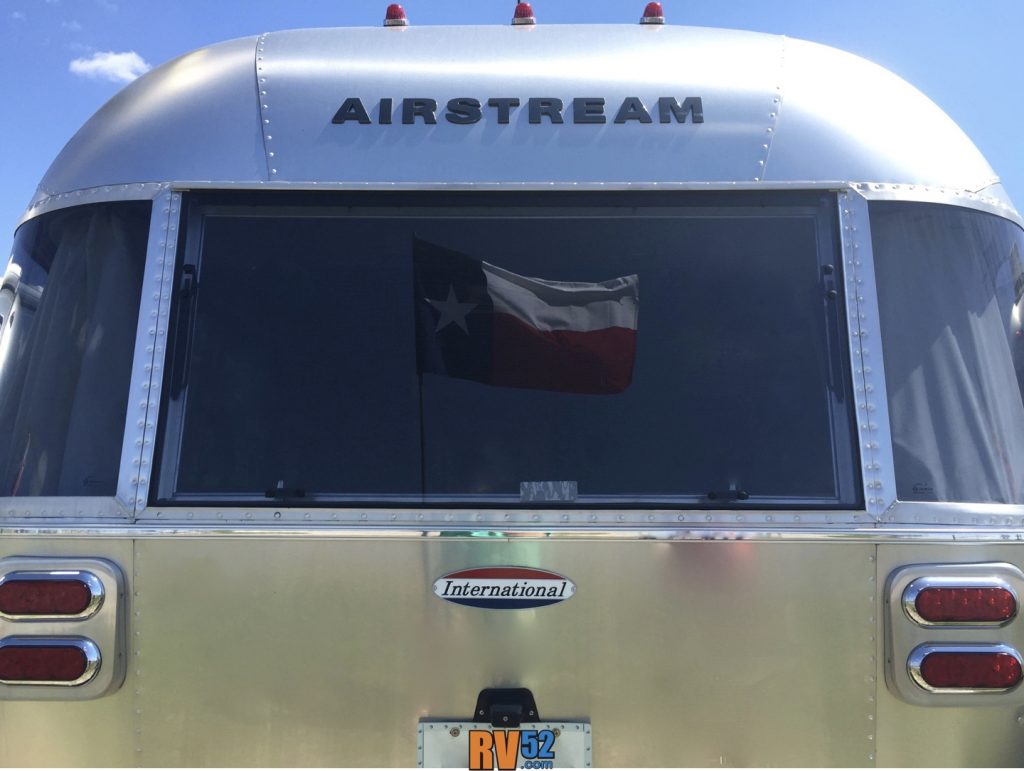
I’m no artist, but while looking through some old pictures I took of some travel trailers in central Texas I ran across this picture, which for me, is extraordinary.
When I took the picture I had no idea that the Texas flag was lined up nearly perfect in the tinted glass of the Airstream window. Even better, the Airstream itself is iconic in the world of “cuttin he cords”.
There is so much symbolism in these powerful icons.
I think of:
If you like my pic, give it a share!
Thx,
SaveSave
SaveSave
SaveSave
(Editor’s pre-amble. This is a guest article from an RV52.com reader Dan Wilcox -THANKS DAN- about his real world experience. Minor edits by RV52 along with added Amazon links.
Dan wrote RV52.com due to some of my articles on managing the WiFi in your RV. He wrote a great article and I hope it is of great use to you. Please comment and share so everyone can benefit from his experience.)
A month ago my wife and I sold our house in Spokane, WA and hit the road in our new RV. Our intention is to live and work from the road for an entire year.
We work from home, so our computers are important to us, as is the security of our computer network. We were hesitant to simply connect our computers directly to any RV park’s WIFI for our connection, worrying about the security of our connection (editor’s note – very wise, very wise indeed).
My goal was two-fold; To put a firewall between us and any RV park’s WIFI, and to have the ability to connect to WIFI networks further away than our computers can see.
The rest of this article lays out what I did to arrive at what I feel is the best solution for RVers in similar situations. Here’s what I did;
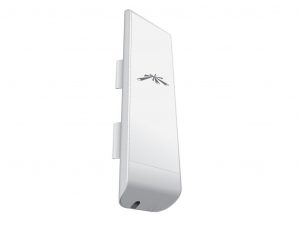
After researching and discussing with several people, I ended up buying the NanoStation M2 from Ubiquiti Networks. It’s a fantastic and inexpensive product, at around $85.
You can either mount the M2 on the roof of your RV for the best results, or (like I did) simply place it near a window inside your RV, which is totally sufficient.
Here are instructions on how to connect the cabling of the M2 to your router; When you receive your M2, you’ll notice it has no power cord, as it’s powered over Ethernet (POE). This just means some of your Ethernet cables will run through a POE dongle that’s included with the M2. Here’s how the cabling connects your router, M2, and the POE dongle:
The M2 has an interface allowing you to see all the WIFI networks nearby. The M2’s interface lets you connect to any nearby WIFI network. It has a nice interface that lets you enter the WIFI connection’s password, then save it as the default, so you only have to do this once, initially, at each RV park you visit. Then, when you arrive at another RV park, you simply change it to that park’s WIFI.
My goal with my router, which is a Netgear Nighthawk (an awesome router BTW), was to use it both at home and in my RV. Therefore, I didn’t want to change ANY of my router’s settings for using it in my RV. My router is on the 192.168.0.1 gateway (not 192.168.1.1, which is how the M2 is configured when you receive it).
I had to change the IP and Gateway of the M2 so the 3rd digit is a 0 and not a 1, to match my network. I made my M2’s gateway 192.168.0.100, the IP 192.168.0.50, but you can use different IP’s that make sense to you. Remember that you’ll use the IP address you assign to the M2 to log into it, to change the WIFI network you’re connecting to.
A few notes; The Ubiquiti Networks website has excellent support if you use their chat feature.
The folks at Ubiquiti Networks may tell you that you need a switch between your Router and the M2. That’s not true.
You may be tempted to by the NanoStation M5 instead of the M2, but I figured it was safer to use the M2 since the M5 has a 5 ghz signal which might not work with my wireless printer.
(editor’s note: The wireless printer would be on the Nighthawk’s wireless network completely unaffiliated with the RV Park WiFi and the M2.)
The M2 was the safer route as it’s on the 2.4 ghz signal that works on all devices. Don’t by the Loco M2 as its smaller and won’t do as good a job at picking up WIFi networks further away.
(editor’s note: The Loco has a +5 km range, approx 3 miles, where the non-Loco has a range of 13 km, approx 7 miles. The price between the 2 types is about $40)
Lastly, the folks at Ubiquiti Networks told me that I didn’t technically need to use my router, and that if I wished I could simply connect directly to the M2 with my laptop(s), and that the M2 had an encrypted connection which offered sufficient security, but I figured it was best to have that added layer of protection offered by my router’s firewall (which the M2 and M5 do not have). Plus, I like the ability of having a router that I can connect printers to, tweak ports on, etc., so this was the best route for me.
Last updated on June 7th, 2019 at 09:06 pm
I moved to Austin Texas in January 1993 from Hendersonville, North Carolina. Hendersonville was a reasonably small town which only a handful of chains or franchises would service.
Starbucks was a chain that mostly has not ventured into the smaller cities. In 1993 as they were just getting rolling that was even more the case.
So, being new to a much larger city, I found great places to visit, but I also found Starbucks. I liked Starbucks for many reasons, but a big one was the drink they called “the mocha”.
A mocha is frothed milk, chocolate, and espresso. You can put more stuff on top, like whipped cream, but the main idea is the chocolate and espresso – mediated by the frothed milk.
Starbucks was where I discovered the mocha. Since Starbucks is international, why not let the Starbucks mocha be the gold standard for mochas. Now before your undies get all bunched up, gold standard just means that it is a consistent reference point – not that it is the best.
That was 1993. Between now and 1993, I have always searched for alternatives to the Starbucks mocha that represent BETTER value tradeoffs.
I often wonder why the mocha tastes so darned good to me.
I like coffee.
I like hot chocolate.
But together, my belief is that the chocolate and coffee flavors themselves completely complement each other. Like the rain forest cacao plant and the high mountain coffee plant combine to create a one-world flavor that could never be created on its own.
The bitterness of the coffee, especially the INTENSE bitterness of the espresso coffee mixed with the smooth sweetness of the chocolate sets up a point-and-counterpoint which confuses and delights the senses.
Before you even start on the mocha mix, you are confronted – at least at high end coffee shops – with the foam sitting on top of the mocha itself which hints at the flavors that you’ll be getting to. Excuse the metaphor, but the foam, especially when it is more than “just milk foam” – when it is mixed with the mocha flavorings is like the foreplay to an amazing delight to your palate.
When I drink mochas, the world is a better place. Peace flows over my body and seeps into my soul. My mind is engaged with the planet and focused on the day.
For a few years I used the Keurig machine and the mocha K-cups ordered from Amazon to get a mocha that was good enough, that was fast enough, and cheap enough to be a reasonable alternative.
Heck, I knew they weren’t as good as Starbucks, but the whole box only cost $9 for 24 cups where you only get 2 Starbucks for $9 – not even so true any more – but the comparison holds.
So I’m reading an Amazon poster on the Mocha k-cups page and they only gave the k-cups a 3-star rating because they weren’t as good as a Starbucks. This is why you have to slap the mouse out of some peoples hands. They just don’t get it. And maybe the rating systems don’t help. But you can’t compare a $0.55 cup to a $3.95 cup by saying a certain product isn’t as good as the $3.95 cup. You have to rate it based on its TOTAL VALUE delivered which is a combination of cost/flavor.
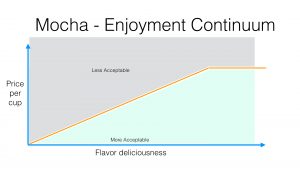
So I came up with the idea of the mocha price-flavor continuum chart. The idea wasn’t totally mine, I realized that a scene from “How I met your Mother” would work perfectly. Slightly inappropriate so you tender folks out there probably should not watch it.
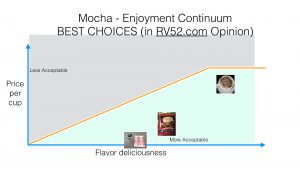
But the chart explains it very well. If you are only so good on the flavor side of things you can only go so high on cost.
I flatline the cost eventually because, in my mind, there is a a price at which a mocha is simply too expensive and no matter how good you think it tastes, it can’t be good enough to justify the price.
Two more ideas – the DEEPER you get into the green acceptable region the better the overall value of the mocha – farther from the line is better. But the opposite is true too, if you are in the unacceptable area, the deeper you go into the unacceptable area the WORSE value the mocha is.
Starbucks I think literally sits right on the line. That would be what very good capitalist organizations would do (which I admire). They charge as much as they can to deliver acceptable value.
I’ll show you my “full continuum chart” at the end of this article as I give you the different things I’ve tried over the years to play with the flavor/price (and consequently total value) continuum.
But this is the SINGLE MOST IMPORTANT IDEA of this article – that there is a continuum – that you can deliver excellent value at different prices and different flavor levels. To be a smart consumer, understanding this line is how you get to be a smart consumer.
I suppose it is worth mentioning that you can apply this line to almost any products. In the MBA world it is called “utility“.
Lets go over some of the different products I’ve tried over the years. As I do this, keep the idea of the flavor-price continuum in your mind.
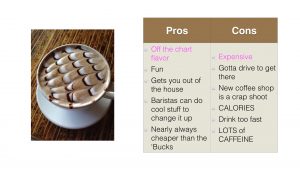
I’ve spoke quite a bit about the “gold standard”. I guess I’ll just integrate the pros and cons chart that I created for this story. I linked the picture to Starbucks gift cards since it was the only way to have a link make sense.
One “con” is that honestly, Starbucks, as good as it is, is so popular that it is sort of uncool to go there too much.
The first thing I did when I started to venture past the Starbucks mocha was to try to make my own.
This was LOTS of fun, but when all the dust settled after a few years of making my own mochas, I realized that with the cost of the machine, the coffee, the grinding, the prep time, the clean-up, and all the extras, that this was on a total cost basis pretty expensive.
Still – I was never quite able to dial-in the Starbucks flavor. So I moved on.
Once I gave up on making my own mochas, I decided to try Starbucks alternatives. Some were chains, some were local. For Austin, I’ll give a special mention to Summermoon coffee which makes a mocha which is quite frankly the best mocha I’ve ever had. That being said, it is in the wrong part of town for me so I have to give the runner up mention to Lola Savannah. They are very good and they do very good “coffee art”.
I’ve wrote about the k-cups in detail here and here and here. So I won’t talk too much more about them here other than to point out that while these were pretty good based on the continuum, I still kept experimenting to find even a better value. Also, given the abundance of free coffee at work, I felt I could get something that tasted even better.
If you check out the “cons” you can see that there were quite a few that I could address.
Starbucks finally created a powdered mocha. Wow!
I thought I died and went to heaven.
I’ll be honest, the first few sips were really, really good. But this product left a bitter chemical-like after taste. It was bad enough that it scored very low on the overall flavor scale, while being about 1/4 the price of a mocha.
So I continued my search.
After finding out about the powdered Starbucks, I then realized there were other choices that were better than the k-cups and as close to a REAL mocha as you can get with the powdered varieties.
I’m more than happy to have a bunch of these around, but they are very expensive so I would only have them for very special occasions. I can recommend these in very good faith. But for the purposes of my great mocha search, if you really wanted to have a special treat, you would go to a coffee shop!
I had tried many powdered mochas and had always tried the Maxwell House ones every now and then. But I decided to take a good hard look at the Maxwell Houses as part of my research.
These produced very good mochas and I can recommend these as a very good mocha substitute. My biggest strike against these was that it took substantially MORE teaspoons/tablespoons to make a good tasting mocha than it says on the label. I could only get 4 or 5 decent drinks out of a can.
Eventually, I stumbled on the idea of mixing hot chocolate mix with coffee to create my mochas. Yes, I know that it isn’t espresso, but still I’m looking for the mix between the bitter of coffee and the sweet of chocolate.
It took me a little while, but I found that the 0.73 ounce Swiss Misses with 10 ounces of Keurig brewed coffee make a mean mean mocha. Coffee is provided at work for free which makes my mochas $0.17 each – a stellar value. Sometimes, I add a little chocolate flavored creamer or regular creamer to make the mocha extremely creamy. However, those creamers make a slight chemical taste too, so I rarely use them.
I also found that by trying different K-cup coffees I can have amazing flavor twists. If you don’t have a Keurig, you can simply use a regular coffee. I think stronger is definitely better. But for me, this has been the VERY VERY best flavor versus price per cup trade-off when I’m at work.
At home, the k-cups were only mediocre and somewhat expensive. I think the high-end mixes are expensive and pretty fattening (the Swiss Miss technique is only 60 calories).
I already said that the Maxwell House’s mix was weak.
One day, while shopping at Brookshire Brother’s Grocery Store (a small chain that focuses on small communities in Texas) I found the Hills Brothers mix as an emergency mocha fix. Sheri calls it “jonesing”.
I was hooked. I’ve found is that for the cost, the flavor, and the convenience, this powdered mix is the very hardest to beat. I give it the highest rating from RV52.com.
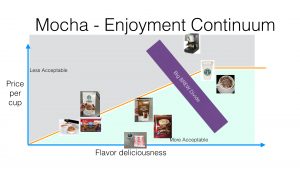
One thing this chart should be clear upon. Things in the light blue are pretty good values. But no matter how you slice it, the powders will never get close to the real thing – brewed mochas.
As a parting note I’ve found that making hot water is a pain in the rear to do quickly. But I’ve found that if I use my iCoffee (my Keurig replacement) WITHOUT a k-cup will make coffee really, really fast.
Anyway, hope this helps you get some different ideas on how to make a great mocha without going broke or spending lots of time.
As a final note, here is the chart that shows, for me (there is personal taste and preference tied into this type of thing), the BEST values for time, effort & cost based on the situation.
If you aren’t using Paypal Shipping, then you are probably standing in line at the post office and wasting hours and hours of your time.

I see it all the time. There they are. Standing around in bunches. Huddled together for warmth, support, and sharing a common suffering. I look at their faces. They are wrinkled, weathered and worried looking – the stress of their reality showing on their faces. Almost to a one, they are all hunched over. Occasionally one or two leaves the group and a few eventually add to the group. You see them at all hours during the day and sometimes in evenings and the weekends.
When I look at them I wonder “Is there something I can do?”
Would Bernie Sander’s social programs help them out?
What is my role? Could I just pick one or two and help them? Or is that like sticking your finger in a leak at the Hoover Dam.
Are they homeless people?
No.
Are they the smokers you see that have to go outside?
No.
Are they junkies, strung out and hanging together to share a fix?
Nope.
They are United States Postal Service customers.
I get so darned sad when I see them because they don’t know better. They don’t have to do this. There is a better way.
If only they knew about Paypal shipping. Maybe they don’t even know about Paypal. I’m not sure.
But if you read on, you’ll find out how to avoid standing in line at the USPS ever again for the rest of your life.
I’m going to assume you know about Paypal, but if you don’t, go here: paypal.com and sign up. Paypal has nothing to do with me. They are a VERY LARGE payment company located in California (I think) and started by Elon Musk the famous entrepreneur who went on to found Testla and SpaceX. I don’t think he has any plans to slow down. I’m telling you this because if you are a tech luddite, you might need a little background to trust Paypal. They aren’t a bank, but they are a great add-on to your banking services as they do an awful lot that a bank doesn’t do.
Now, I’m guessing that for the REST OF YOU you probably know about Paypal, but you don’t know about Paypal multi-ship, which is INCREDIBLE.
You’ll find it in the tools menu which I’ve highlighted in the picture at the top of this article. If you don’t use it, you may need to dig into the menu a little big (All Tools) and then find it.
When you click on it, you’ll get the menu shown below. Just click on the button by the red arrow.
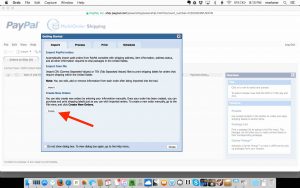
After you click on the red arrow, you’re going to get a dialog box, or what you might call a “form” to complete. You won’t have to mess with the order portion.
Assuming Paypal is setup correctly (which is not the intent of this article) then you only need to complete the shipping information and the address information.
What I’m showing on the form is that there is a pulldown menu which has most of the interesting United States Postal Service (USPS) shipping options. You just select the one you want. The ONLY one that is excluded is the First Class Letter option which is handled quite easily with stamps. Remember those? ;-)
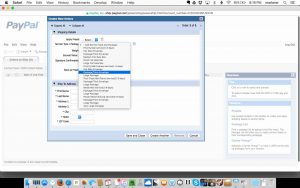
Once you complete the shipping and address information, simply select the Save and Close, assuming you don’t want to complete another one. Note: You DO need to know the shipping weight, usually rounded up to the nearest pound. Also you’ll need to put in dimensions for the box. But these two things should not be hard.
Then on the next screen, all you will need to do is to pick Pay and Print. You may have to select your item, but once you do pay and print, you will be able to print a label on your normal printer.
Don’t worry about having a special label, just print it on paper and then you can use tape to affix it to a box.
All the normal USPS rules that you would normally have to follow would apply.
That is it.
Now, instead of driving to the post office and standing in line, you’ll simply drive to the post office and drop it in the after hours package drop box OR simply leave it at the counter. Most USPS lines understand that packages ready to ship with postage get to cut in line and simply drop off.
I just saved you about 30-45 minutes, didn’t I?