RV52 Table of Contents FOR THIS PAGE!!! CLICK to Navigate!
When we first purchased the Tiny Texas Tumbleweed (TTT), we made a list of things to modify and improve to make the TTT more livable. Replacing the RV hot water heater SHOULD have been on the list.
What wasn’t on it at first made the list during a cool spring morning.
The hot water heater on the TTT is the lowest cost hot water heater you can put in an RV. It is a 6 gallon PILOT LIGHT UNIT. In some ways, the pilot light type might be the best in terms of reliability… but for me, I had a little something more in mind.
Sheri and I usually keep our hot water heater off. From an engineering standpoint the way to lower hot water heater electric and gas consumption is to keep it off.
That was no big deal in our Puma or Open Range as both of these had electric ignitions. An added bonus on the Open Range was that it used electric shore power.
On that cool spring morning, I was snuggled up to my little Texas blondie and she says “Can you turn on the hot water heater so we can shower and get ready this morning?”
At 36 degrees and a slight wind along with air bubbles in the gas line (first use), getting that pilot light started was a pretty COLD experience.
When I got back in the RV I could hear the hot water heater roaring. Yay me.
Then it stopped. An air bubble let the flame go out. And the pilot light went out too.
Back outside.
Freezing cold.
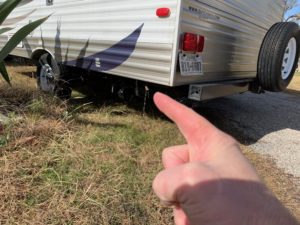
I’m thinking that this is total crap. Here are pictures showing where I had to light the pilot light and the button you have to press when lighting the pilot light. It isn’t horribly hard, but I like the idea of an electronic ignition much more.
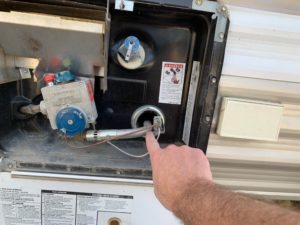
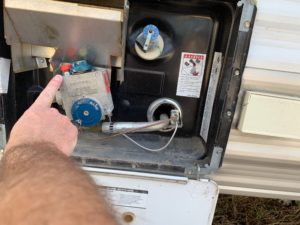
So when I got back inside I ordered a new Atwood Gas/Electric Hot water heater with electronic ignition. It arrived back at RV52.com World Headquarters a few days later.
And promptly sat all summer.
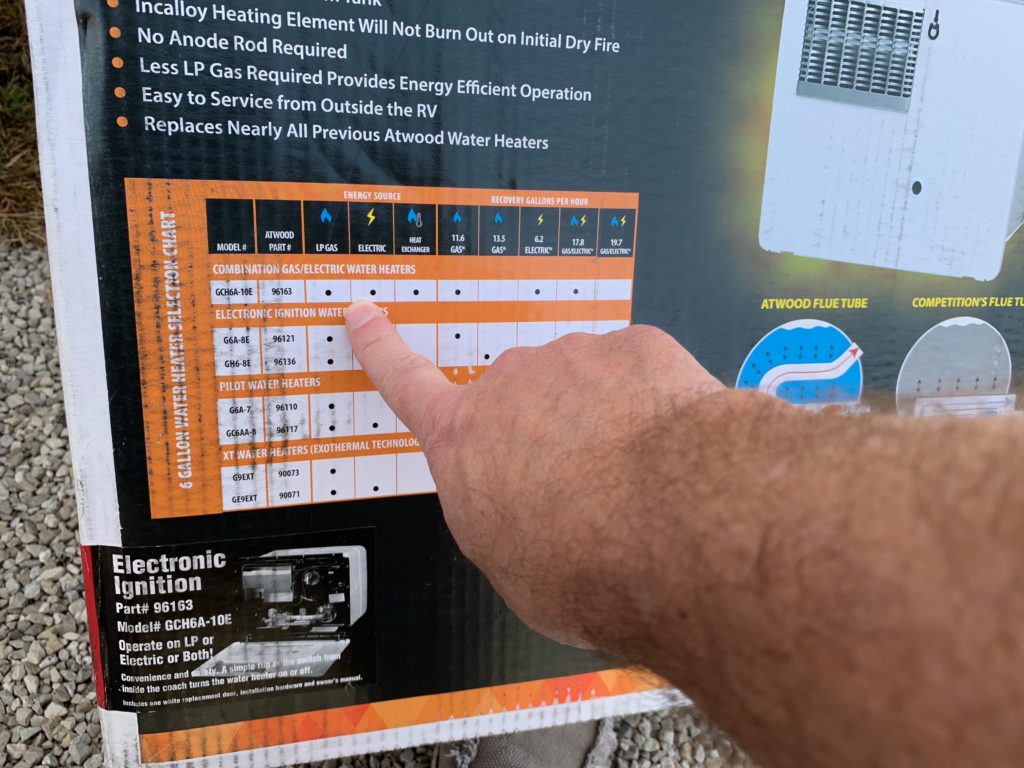
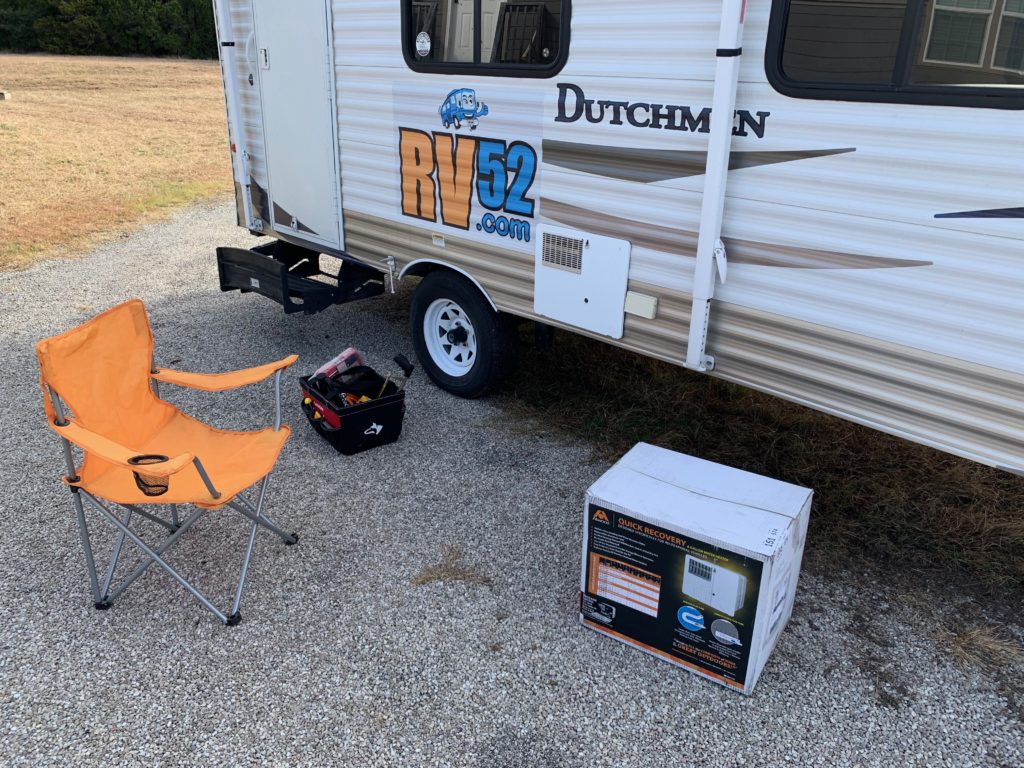
Here are pictures of the Atwood BOX prior to installation:
Why did I order an Atwood? Because I was replacing an Atwood and I didn’t want any trouble when replacing the unit. I noticed that not all RV Hot Water heaters are shaped the same. I wasn’t going to try to save $100 by getting some other brand. That isn’t enough saving to cause an even bigger project. Furthermore, I didn’t have any rational basis for NOT wanting an Atwood. I assumed they would make a reasonable product. The Amazon ratings were also very good – a nice indicator.
I finally got around to putting in our RV hot water heater.
It wasn’t horribly difficult. Of course I probably did some things half-way, but overall, I’ve improved our RV and am looking forward to NOT going outside and still having hot water.
I’ll put a video gallery here of my project. It took the better part of a day, but I must admit I didn’t hurry at all. If you had everything you needed and have done this before you could replace this in an hour. For guys like me it took 3-4 hours and a trip to the hardware store.
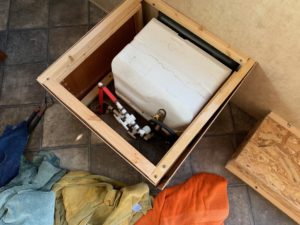
I’d say the most important FIRST thing to do is to make sure your RV is drained. How do I know this? Do you see the towels on the floor? Embarrassing.
Once “all hell is breaking loose” with water in the lines stops, then you can start you project in earnest. Your RV is MOVABLE so make sure you create a nice working environment and space. Get yourself a chair.
I ended up getting out alot more equipment than this picture shows.
Tools and accessories needed to replace your RV hot water heater:
- New RV hot water heater… of course
- Automotive Marine Weatherstrip – experts may say I chose the wrong gasket… but here is the brand I used.
- Electric Drill with screw driver bits
- Rotary tool to remove insulation, sealant, and glue.
- Gorilla glue – the type that will glue metal to metal.
-
caulking gun
– I LOVE this caulking gun
- electrical crimp connector collection
- 14 gauge wire
- Plumbers joint putty
- Plumbers nylon tape
- Electrical pliers for crimping and stripping
- Multimeter
- Toolkit with general tools – like a socket wrench
Assuming your RV hot water heater is drained, then I think the big “macro” step is to remove the old hot water heater.
The steps to remove the old hot water heater are:
- Unscrew the PEX hot and cold water connectors (you can see the picture above for the RED/BLUE PEX connectors). I was lucky in that I had a bench I made that made access to the hot water heater easy. You might not have that.
- Unscrew the LP gas connection. You do this from the front (outside) of the hot water heater. Then push it back as much as possible.
- Remove the door. It was two spring connectors in the lower left and right sides. Very easy.
- Unscrew all the screws. An electric screwdriver is pretty handy about now. There were many screws.
- I promise you the hot water heater won’t come out yet. The glue they used in Indiana is crazy good.
- Take a box cutter knife and cut the glue all the way around.
- Once you do that well, the hot water heater will come loose.
- I went inside and pushed it out gently… taking care to not damage anything.
- The foam gasket was adhered tightly as well. I ended up having to cut it too.
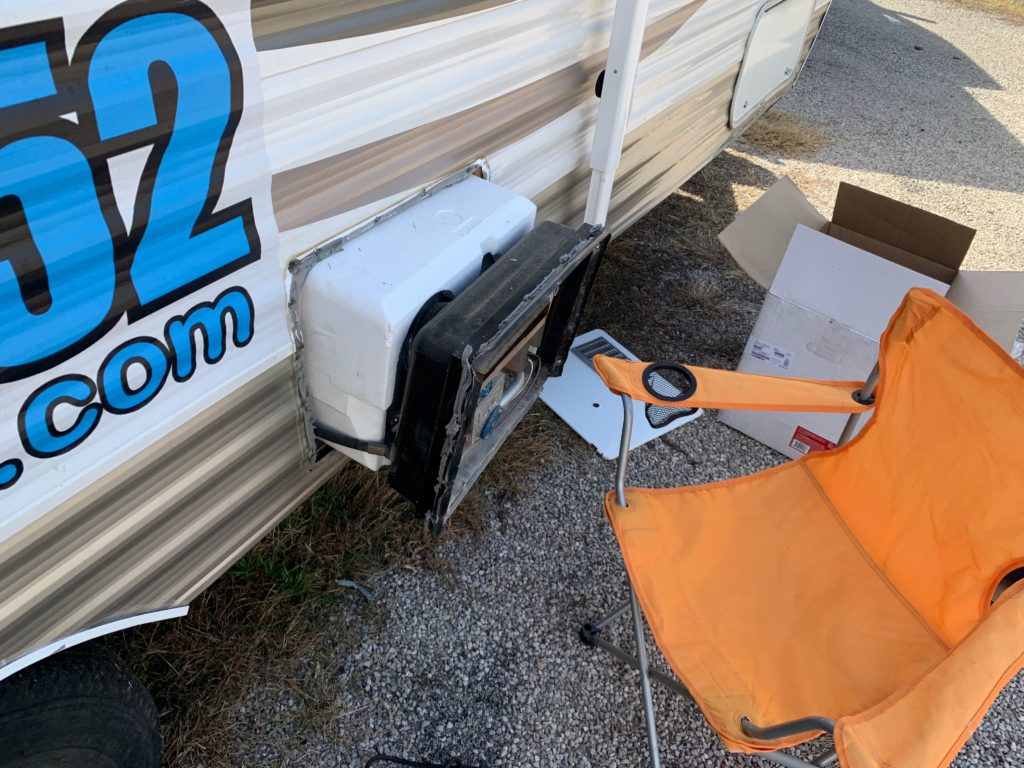
You can see the partially removed hot water heater here:
At this point, you probably need to use any number of methods to remove the glue and the foam gasket. I’m a bit of a hack so I used a rotary grinder. Mine is from Harbor Freight and is one of the few tools they sell that worked more than one time! ;-)
Preparing the space for the replacement rv hot water heater
- Remove any foam gasket from the old RV hot water heater mounting area. I used a rotary grinder with a sanding flapper disk which is probably the wrong name for it.
- Remove the old glue, which was probably an amazing glue, from the old RV hot water heater mounting area.
- This is a good time to clean the area inside where the rv hot water heater will eventually go.
- Get a really good gasket – automotive grade with a good adhesive and put it, in my opinion, just inside the center line that goes screw to screw to screw. I’m talking about the mounting screws for the hot water heater. By doing it this way, you have good access to the screw holes and they do not block the screws when you go to replace them.
Prepare the new replacement RV Hot Water Heater for its new home
- You’ll see in my picture of the installed, but not operational replacement rv hot water heater FOUR L-shaped pieces of metal in the center of the RV hot water heater… remove those. You’ll use those to mount the RV hot water heater in a moment. Just break them apart into 4 pieces and set them aside.
- There were two plumbing fixtures that CONVERT the RV hot water heater inlet and outlet to PEX style connectors. Remove these from the old hot water heater.
- Clean those connectors up a little bit with a rag.
- Apply plumbers putty to the threads.
- Put the connectors into the upgrade RV hot water heater.
- Tighten slightly with a wrench. I used a pipe wrench. I made it “fairly” tight, but not so tight I could hurt anything… if possible anyway. I’m always a bit nervous about that.
- Find the little hole (lower left when facing the installed hot water heater) and rubber gasket that will hold the LP gas hose in place. I removed that gasket and fit it over the LP gas hose ahead of time.
Place the upgraded RV hot water heater into the space vacated by the old RV hot water heater
- Gently pick up your newly prepared replacement RV hot water heater and as gingerly as possible put it into the old RV hot water heater’s old space.
- Be careful with the electrical wires to make sure that you don’t let one fall so you can’t find them. I kept mine carefully located on top of the styrofoam insulation.
- Be careful not to harm the insulation. Your rv hot water heater is worth several hundred dollars so hurting the styrofoam insulation is not good.
- Gently press the hot water heater into place until it touches, but does not squash the foam gasket you put in place.
- Go inside and make sure all the wires are visible and accounted for.
- At this point, you can see the PEX water pipes and fittings should line up perfectly with your RV hot water heater.
- This is a good time to fish the LP gas pipe through the hole to the front of the RV hot water heater and then put the gasket securely in the hole where you found it, except now with the LP gas hose through it.
Secure the new RV hot water heater into place after the test fit above
- On the Atwood RV Hot water heater, I can’t speak for the others, you have to bend the “lip” with the holes for the screws 90 degrees from straight out to flat with the RV external surface.
- When you bend the hot water heater lip, it should then line up with the original holes. This is a HUGE (or Yuge) reason that getting the same brand as a replacement might be wise.
- Now that the lip is bent on all four edges, fill the space between the lip and the RV exterior surface with Gorilla glue. This is a one-shot deal so do a good job and make sure you don’t leave any holes. Be mindful to not get it in the way of the screw holes on this step or you won’t be able to see where to place the screws.
- Push the RV hot water heater in. Glue will squish out.
- Use the angle brackets you removed from the new hot water heater on the corners and start putting screws in the holes
- Put the screws in everywhere.
- Tighten the screws evenly around the hot water heater. Be mindful to not over tighten and strip the wood. Remember the screws hold a little, but the glue will hold alot.
- When the RV hot water heater is nicely secured and you are done tightening screws, clean up the Gorilla glue so that the RV looks nice.
- Fasten the LP gas hose to the LP gas nipple and tighten by hand, then a little extra with a wrench. I would also add that I used plumbers nylon tape on mine. Hopefully that isn’t some crazy combination.
- You should find two little clips. You can use those to fasten the NEW door (mine came with a door even though the part number I ordered above and gave you says it does not. I’m just sayin.)
- Also put the metal heat deflector in place.
Connect the PEX cold and hot water connections to the RV hot water heater on the inside
- I used plumbers tape on these. Maybe overkill, but RV leaks are so common…
- I tightened by hand, then just a little bit more with a wrench. Be mindful… plastic breaks easily.
Connect a 12 Volt power source to the igniter circuit on the RV hot water heater
- The instructions were pretty good from Atwood so I’m not going to go into that detail. But I will tell you what I did.
- I cut a little rectangle in the hot water heater box. I see I did it out of level, which is embarrassing, but at least I did it where no one will see it but Sheri and I.
- The ON OFF switch came with the Atwood hot water heater which was a BIG relief.
- I DID NOT connect AC power to heat water using shore power as we did not have convenient power to the hot water heater. Maybe someday.
- The closest 12 V was the overhead bin light. You can see the wire in the picture. We’re going to use decorative tape to hide the wire.
- Once you route 12V to the hot water heater box then you are 99% done.
- I hooked up the “lockout light” which tells you that the igniter failed.
- I hooked up the 12 V igniter switch only. There are no wires going to the AC control switch.
Test out your new replacement hot water heater
- Turn on your LP gas. I did not have any soap to look for leaks, but Sheri has a really good smeller and we did not detect a leak.
- Turn on water to the RV. Monitor your connectors for leaks.
- We did light the range to bleed out any air in the LP gas lines. True it wouldn’t bleed air out the line going to the hot water heater, but it does help.
- Turn on the igniter… click click click… pause click click click … ROAR!!! What a wonderful sound.
Conclusion: You can put in an RV hot water heater upgrade
This isn’t that hard. This was my FIRST one and I learned quite a bit. Experts might see I did something wrong. If so, just leave a comment and let us all know what part can be improved. Be nice, that is all I ask.
I can’t wait to NOT go outside and light the hot water heater!
Shop at the stores you ALREADY shop at! Nothing new (except savings)
Click here for $10 on your first shopping trip by trying Rakuten (used to be eBates)
Risk Free!
Halterman rv says
Really nic information and great content. I am thankful to you for this information.