Troubleshooting and Replacing the Blower Element on Our Dimplex B8000 Electric Fireplace Insert for RVs
Before getting started
Some other articles I’ve written regarding the RVs electric fireplace:
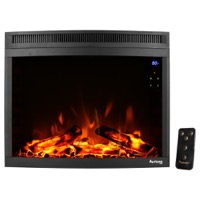
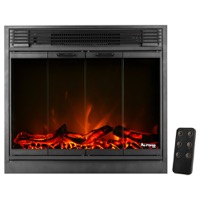
Over the last two years, we’ve had a couple of instances where the Dimplex B8000 electric fireplace insert in our RV stopped working properly. Specifically, the fireplace blower element seemed to “die” on us. Here’s what we mean by “die”:
- The electric fireplace works as expected for about 10 minutes, but then the heat shuts off and doesn’t come back on.
- The RV fireplace blower continues running but doesn’t produce any heat.
- Both the blower and the heat function fail to turn on altogether, though the “flame” effect still works.
This issue can be frustrating, especially when you rely on the heater in your RV for cozy warmth during cooler travels. Fortunately, we found a solution to repair the blower and restore our fireplace’s full functionality.
Before You Begin
To help other RV enthusiasts, I’ve also shared a few helpful articles about electric fireplaces in RVs:
- RV Fireplace Insert Guide – Why we love our electric fireplace and how it saves us from dealing with wood or ashes.
- Replacing the Heater Element on an RV Fireplace – Step-by-step instructions to replace the heater element if it fails.
Getting a Replacement Blower Element from Dimplex
Even though our fireplace insert was out of warranty, I contacted Dimplex customer support and requested a replacement fireplace blower element. It’s worth making the call because, in our experience, the worst they can say is “no”!
Once I received the replacement part, I did something unexpected—I read the Dimplex manual! You can find the manual for the Dimplex BT8000 RV Fireplace online, which includes an entire section on replacing the fireplace blower heating element.
Step-by-Step: Replacing the Blower Element in Your RV Electric Fireplace
After reviewing the manual and seeing the visuals provided, I realized that replacing the blower element was simpler than I expected. Here are some basic steps that might help if you’re dealing with similar issues:
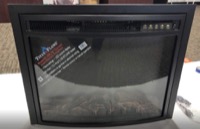
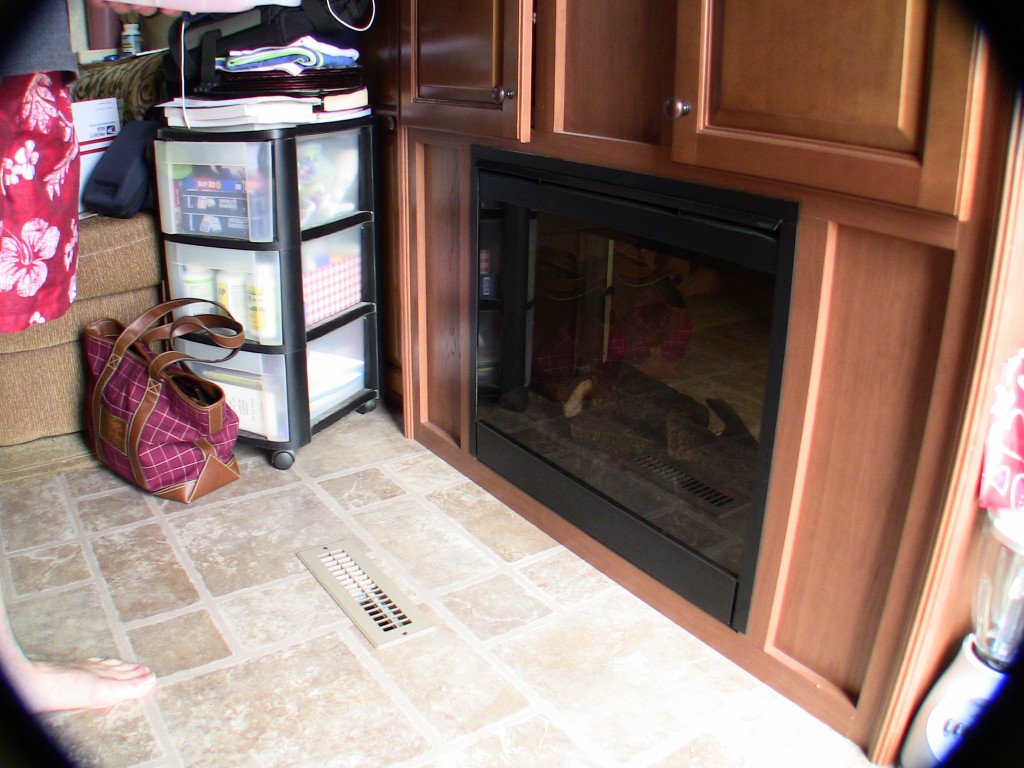
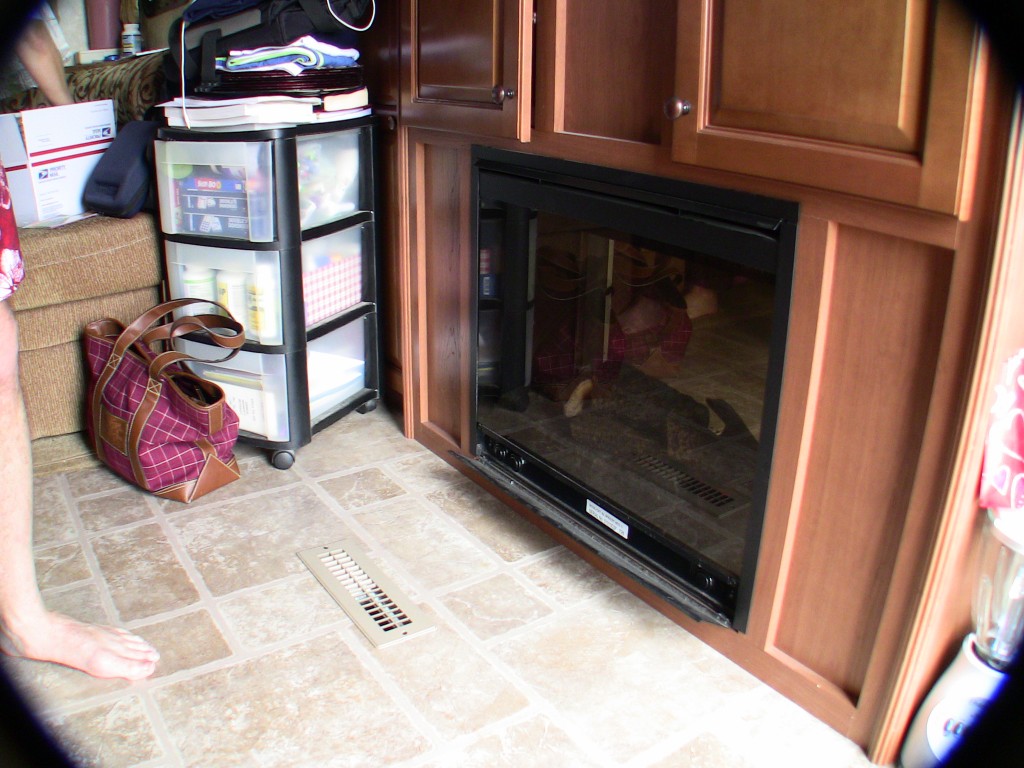
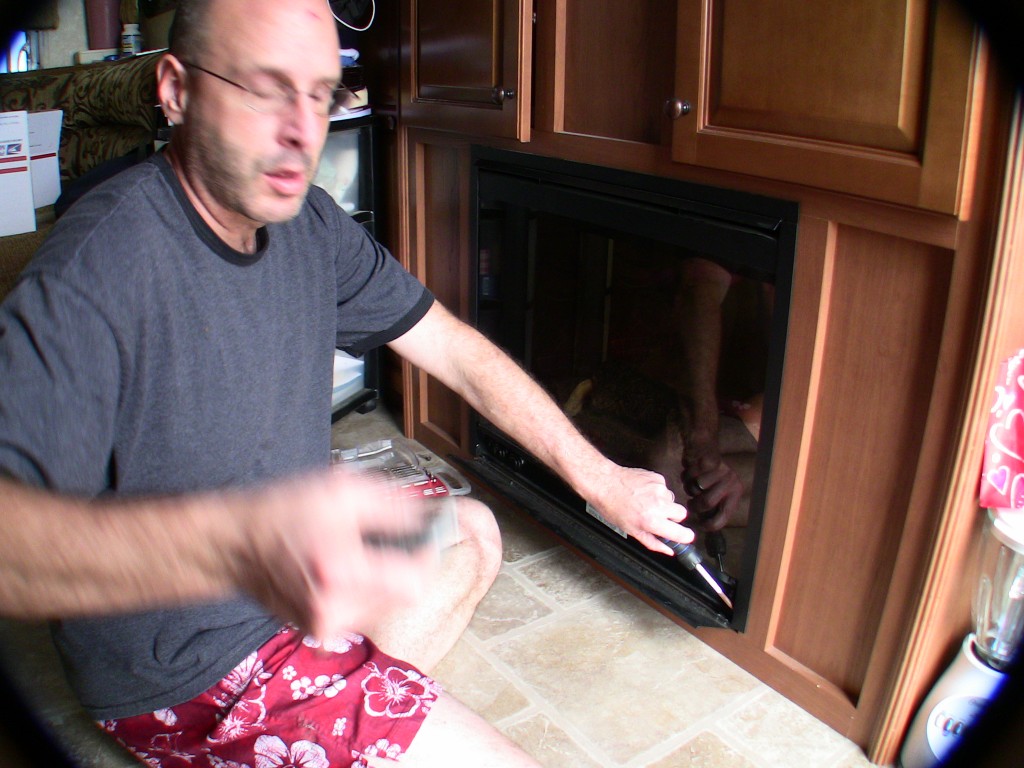
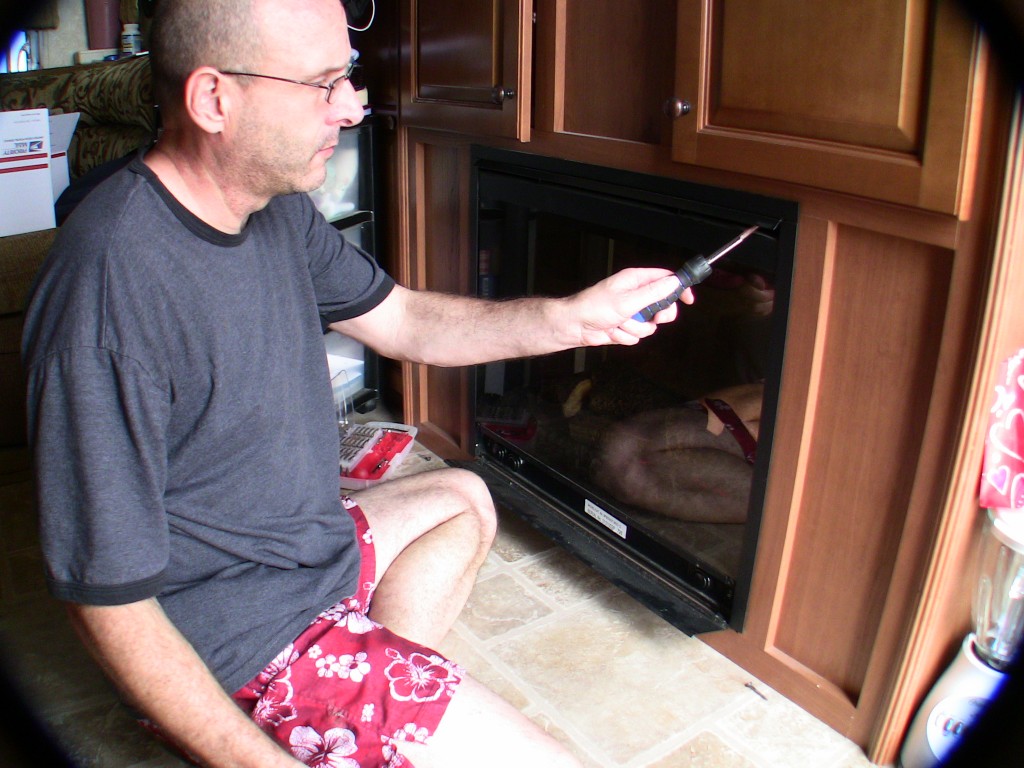
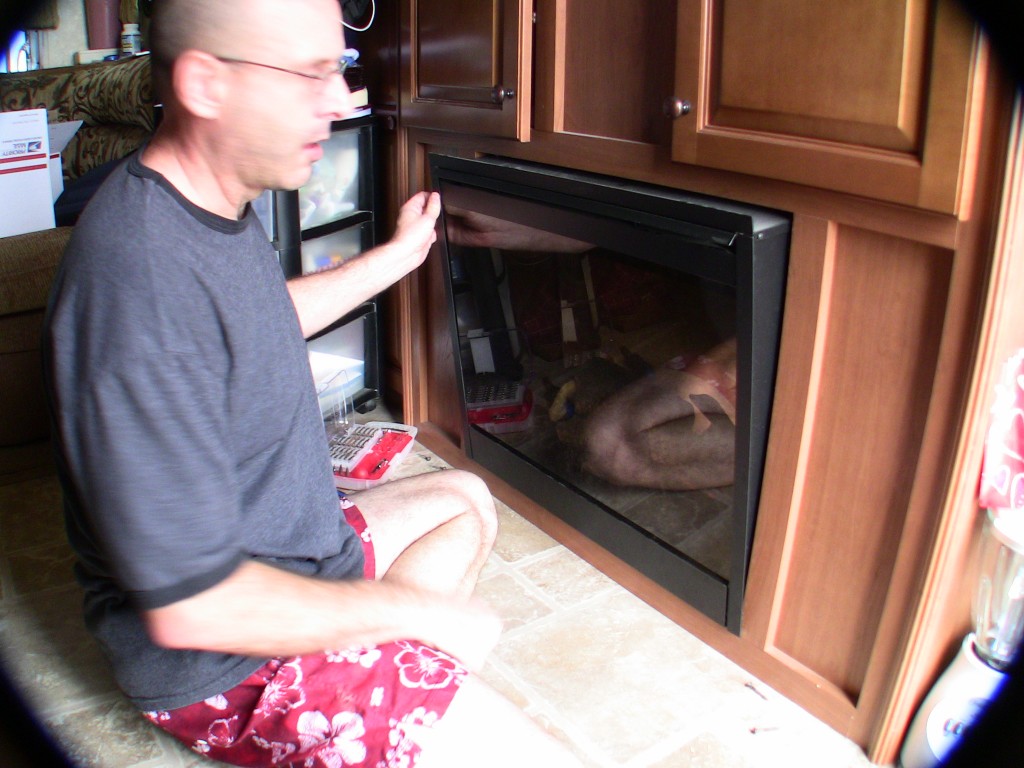
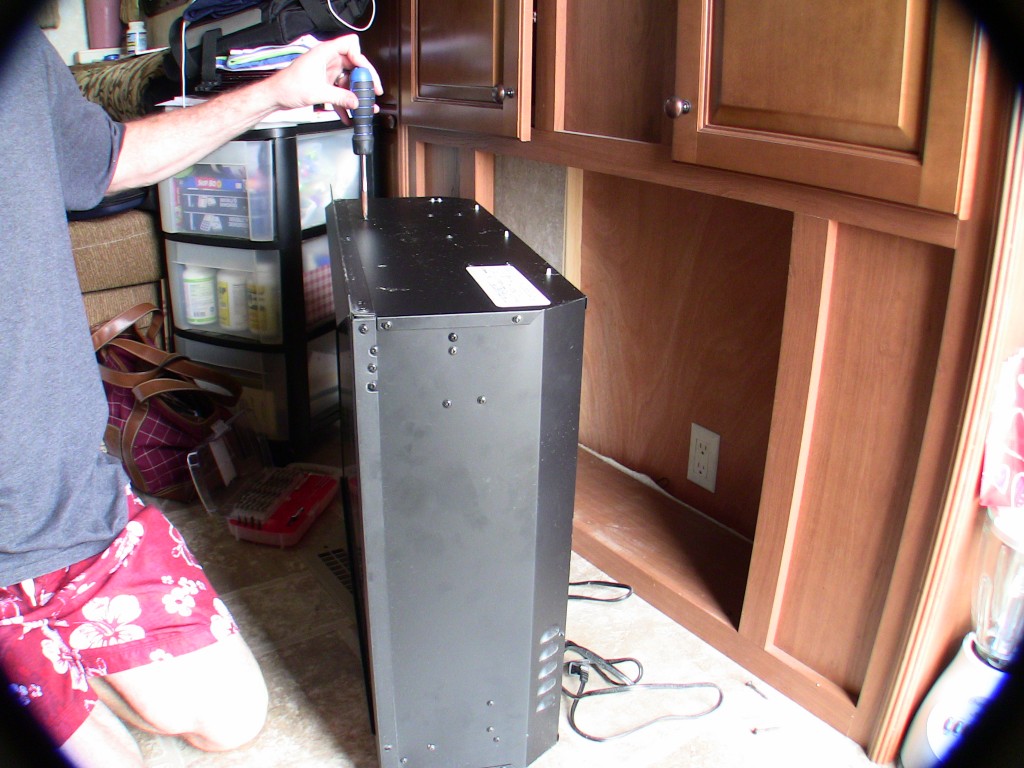
- Locate the screws: There are usually only four screws holding the fireplace insert in place. You’ll find their exact locations in the photos below (forgive my less-than-stellar photography and work attire—it’s only when you start adding pictures to a blog post that you wish you had dressed better!).
- Remove and replace the blower element: With the screws removed, you can access the blower and heater components. Swap out the faulty blower element with your replacement part following the manual’s guidance.
- Reassemble and test: Once reassembled, turn on the fireplace to ensure that both the flame and heat functions work properly.
By following these steps, we managed to fix our RV electric fireplace and restore the heating capability we missed. We hope these tips help you do the same and keep your RV warm and cozy year-round!
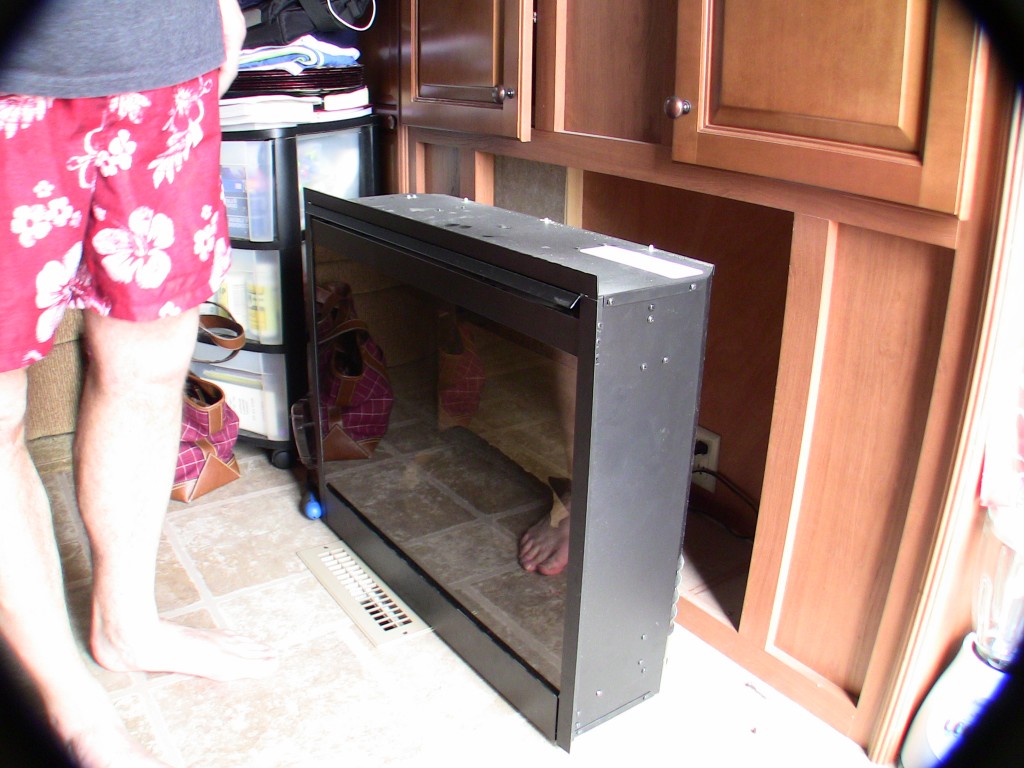
After the screws are out, the fireplace really just pops out. It is VERY lightweight. Surprisingly so.
In the next picture, you can see the rv fireplace blower removed. I thought there would be wiring, but it is a standard household 110 Volt plug-in just like you would use for your vacuum cleaner or stereo. So all you do is just “unplug”.
The hardest part is removing the 4,397 screws that hold the rv fireplace blower heater element in place. Just remove them.
I didn’t say LOSE them! Keep track of them, you’ll need them in 10 minutes.
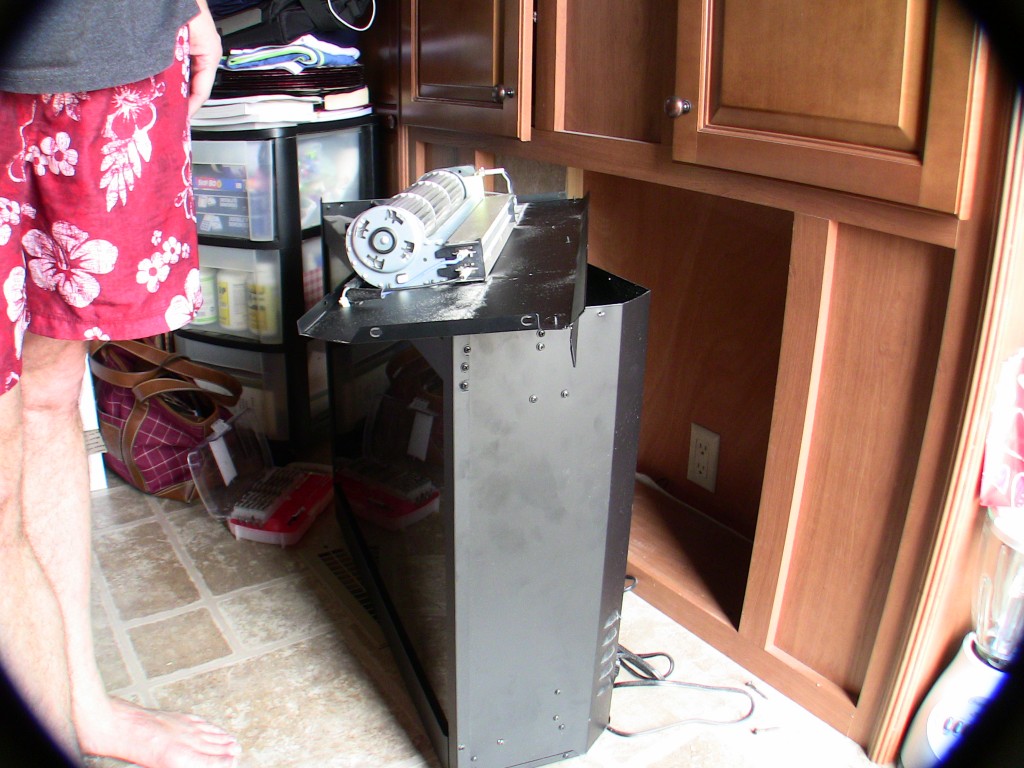
The next picture shows the fireplace blower heater element already removed. There are two wires you have to unplug to remove the unit. Watch what you do as you’ll have to plug in the new heater element in the very same way.
Now just reverse the steps and you’ve completely fixed your RV Fireplace and saved the $200 from the RV repair person bill. This one is just too easy to have them do.
No, I like to reserve the really YUKKY stuff for the repair guy so I get my complete $200 worth.
Cheers!


 24/7 Help