RV52.com needs an RV decal!
As the purveyors of one of the leading RV web sites (RV52.com) it is only fitting that our RV is adorned with our corporate logos!
So Sheri and I got this bright idea to order a rv decal from Signs.com and we were able to try them out. The one thing we WON’T be able to do while I’m writing this is to discuss how LONG the decal lasts, but I can at least provide insight for other aspects.
After a little bit (about 10 minutes) research we decided to get a decal from signs.com. They had several types of decals but we decided on an opaque decal that was in their automotive section.
We decided to get a 3 foot x 2 foot (36 inch x 24 inch) decal and we decided to get three of them. One for the rear and one for each side.
They weren’t cheap, but not horribly expensive either. I think we spent around 45-50$ each.
Once you decide you have to create the decal. Since we wanted 3×2, I had to create a graphic using RV52.com logos (I made my logo by using 99designs which I recommend VERY strongly).
To create a graphic with the correct aspect ratio, I used Keynote on my Mac. I’ll list the steps here without much detail:
- Create a new widescreen Keynote file. I use a white background. It won’t matter.
- Pick a page format with NOTHING on it.
- Draw as big of a rectangle as you can on the slide. Keep the rectangle 3×2 aspect ratio. This you can ensure w/ Keynote.
- Make this rectangle’s color the same color you would like the decal background to be. We picked light light gray.
- Now draw whatever you want INSIDE THAT RECTANGLE.
- When you are done, select everything inside the rectangle.
- CTRL-C or Apple-C (copy)
- Start up Preview app.
- Go to the menu and select “New from Clipboard”
- Save as a PNG – I believe PNG will scale better with less jaggies.
Using this graphic you can upload to signs.com easily.
In our case, signs.com warned us that we might get jaggies. But we took risk as we do not own the graphics SW to go really big.
We then ordered and waited our 2 weeks.
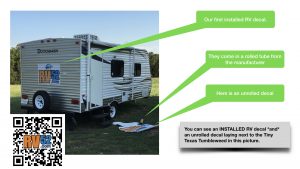
We received a tube in the mail which contained our three graphics.
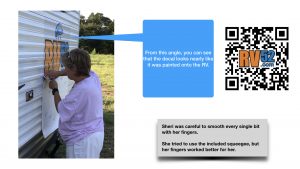
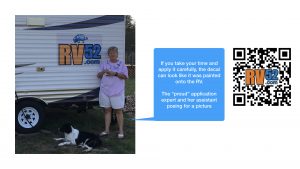
Eventually, we got off our duffs and put on the decals.
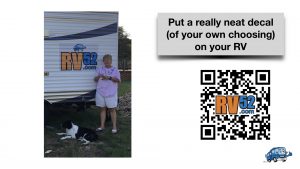
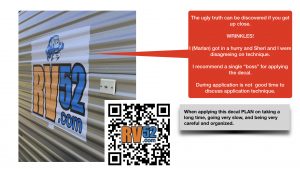
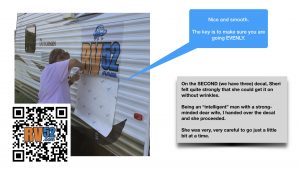
The pictures describe this process better than writing.
A few notes I’ll put here so you get an idea of our limited learning of best practices:
- Make sure you have ample time and a patient mind to do this.
- It can be a 2 person job – but CRITICALLY – only ONE BOSS. Trust me on this one.
- Be very mindful of the idea that it needs to be perfectly even. Straight lines is a good idea.
- unroll a tiny bit of the adhesive backing at a time.
- Go slow, smoothing as you go.
Anyway, soon you’ll see the TTT (Tiny Texas Tumbleweed) rolling around central Texas with our fancy decals.
Check ’em out
Leave a Reply