The picture gallery in this article (may not show in an email) shows how I installed my rv shower surround in order of the steps I took. If you want to READ more details you can skip below the picture gallery section to my text writeup.
Why would I install a shower surround in our camper?
When Sheri and took the Tiny Texas Tumbleweed out for our maiden voyage(s) we had a couple of problems with the shower and maybe some “imaginary” issues where we were worried about the future of the shower in our camper.
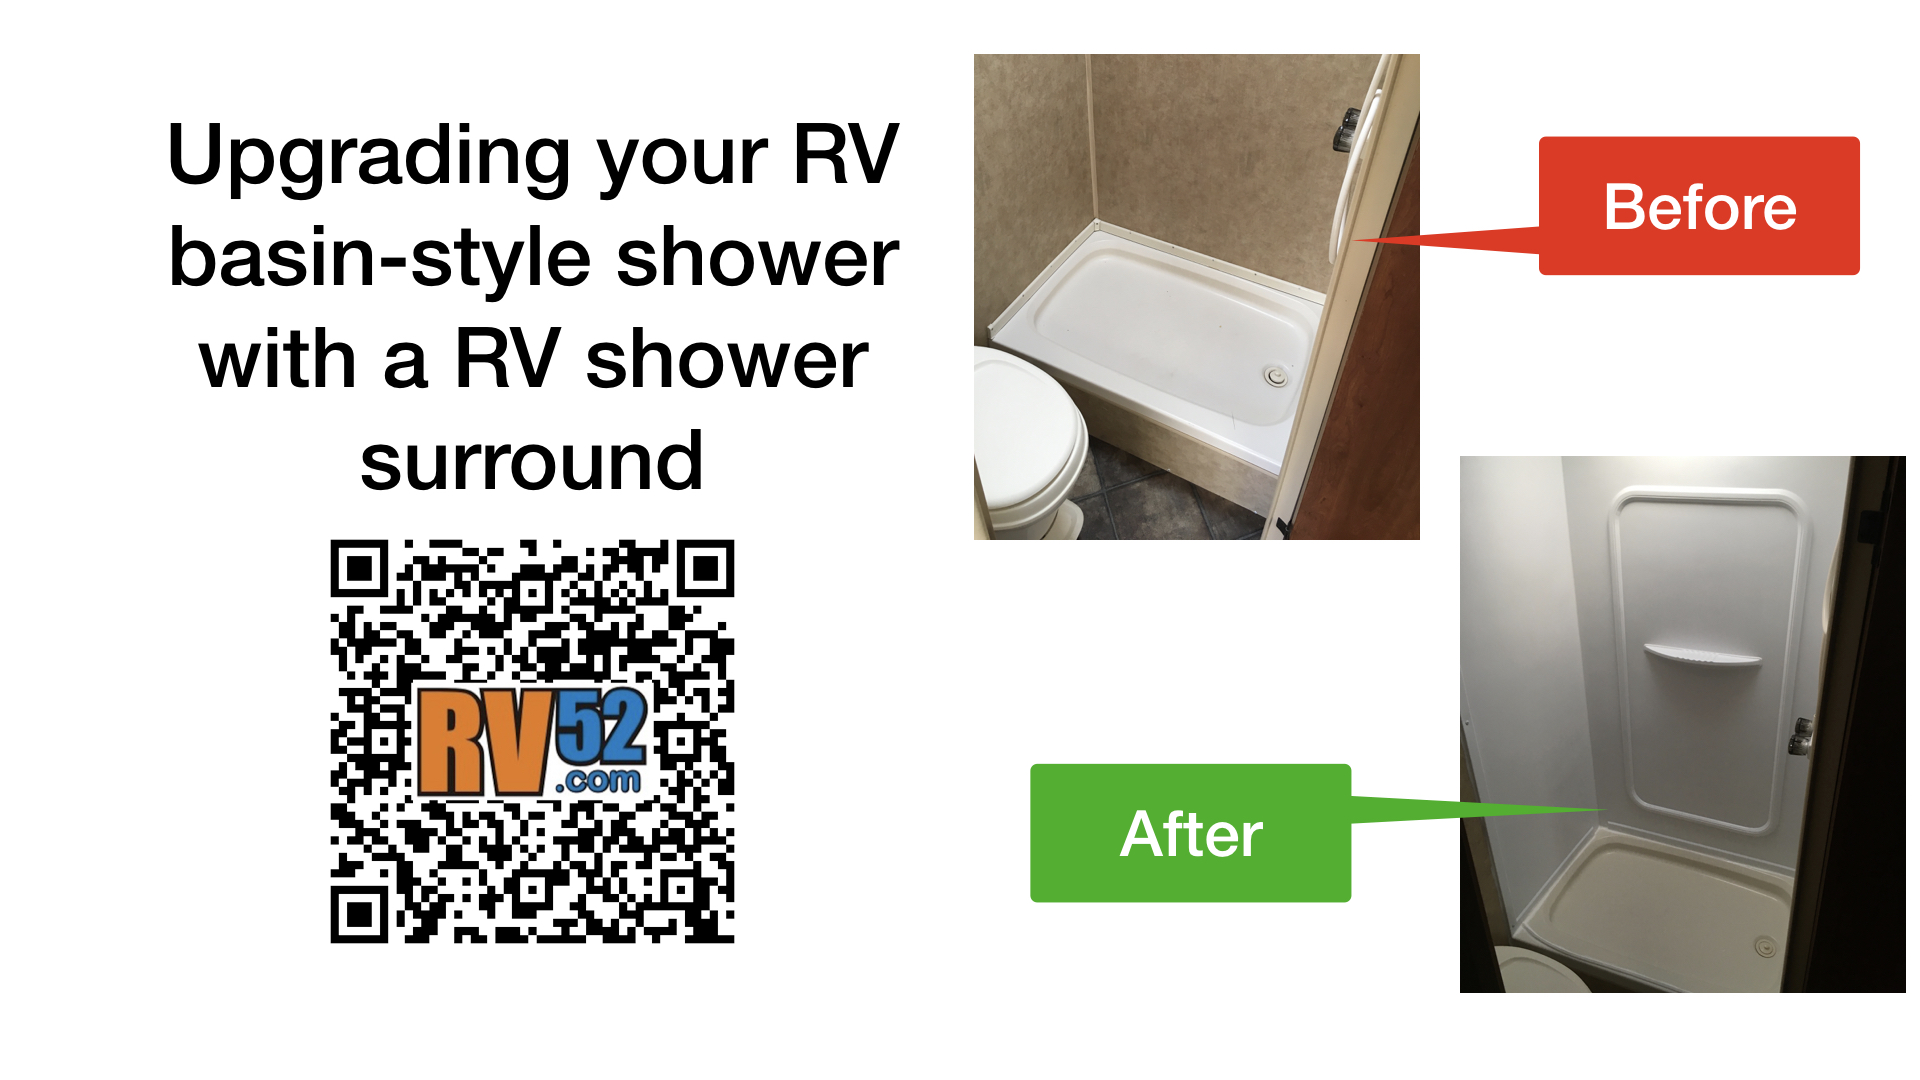
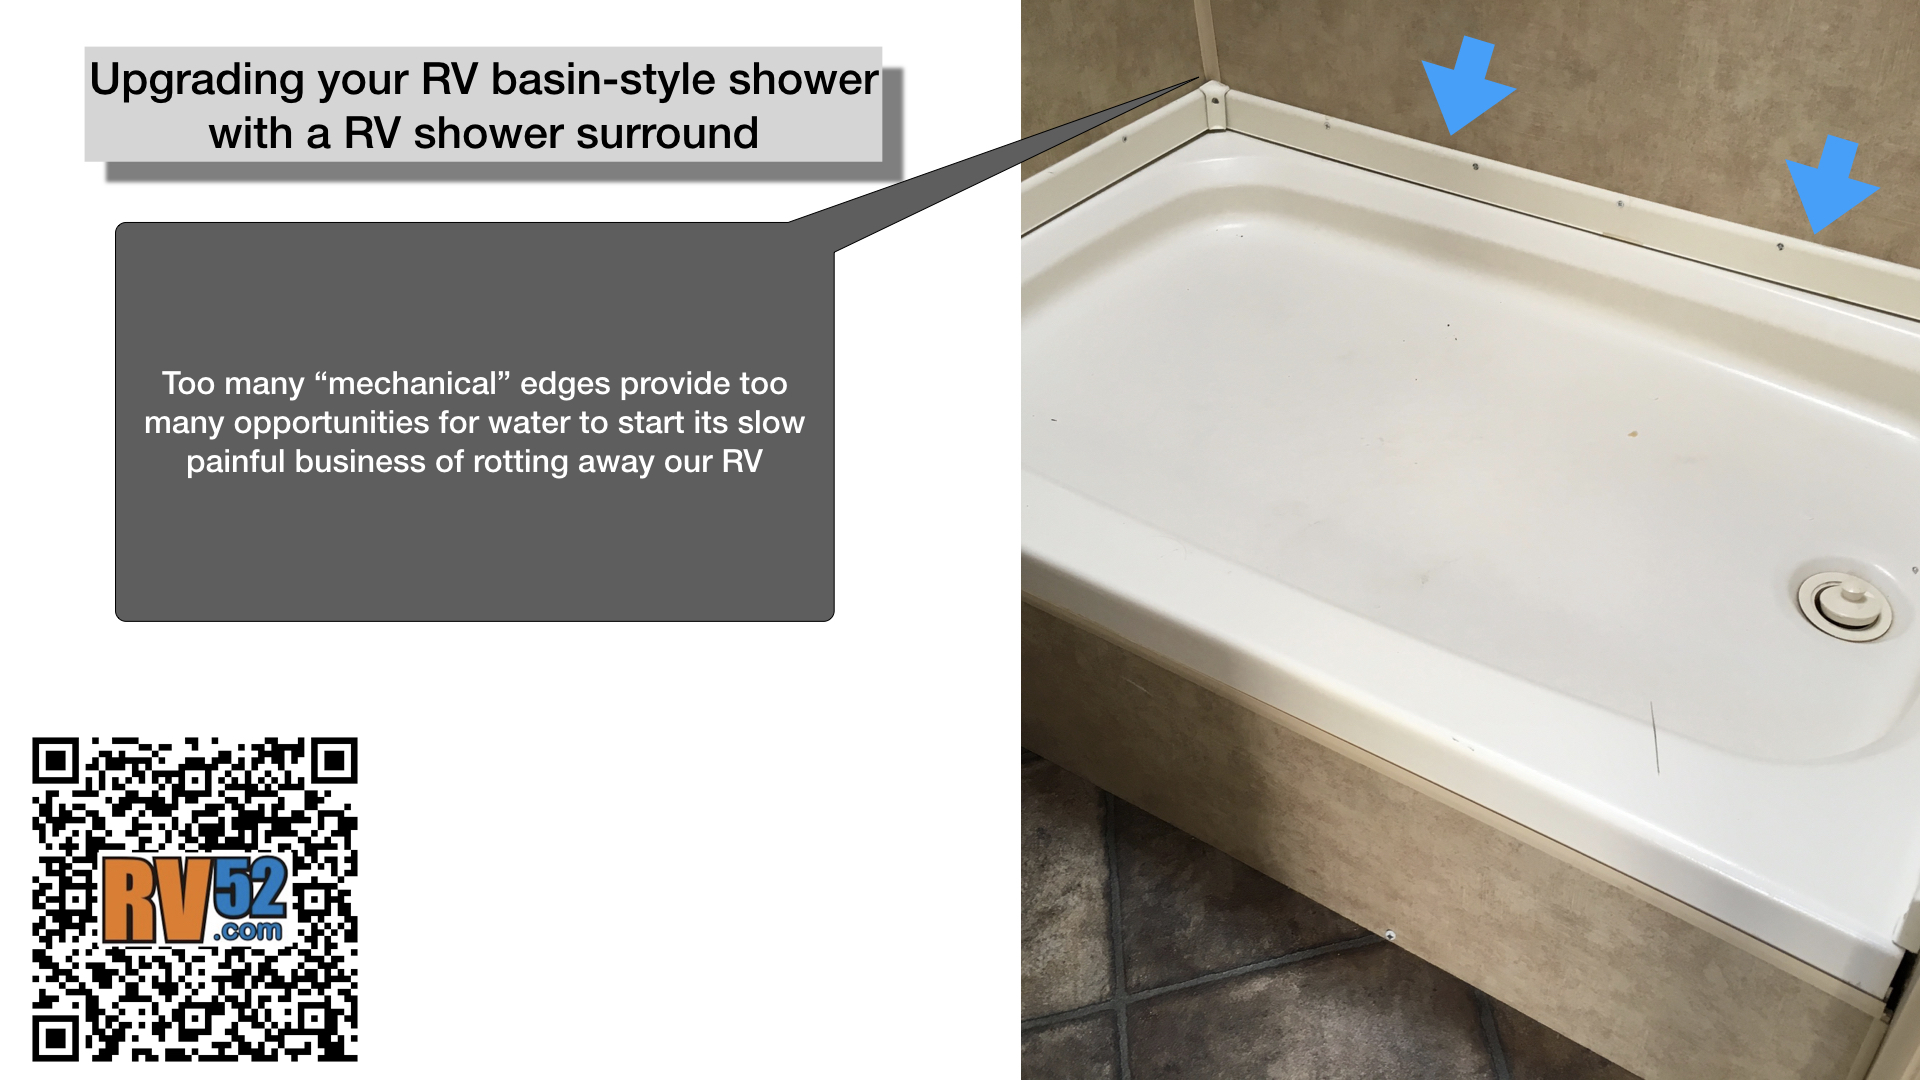
Our biggest worry was that the basin shower, as pictured above was VERY VERY (and a third) VERY susceptible to water getting behind the basin and into places where it can mold and rot.
We also worried that the wall, which was the same type of wallboard used throughout the camper really wasn’t that great at rejecting water and once again we would live to regret showering in the Tumbleweed.
On one of the trips, Sheri showered and the basin has no “lip” to keep the water from simply rolling off the basin and onto the floor. Once on the floor it was easily slipping underneath the basin to begin the molding and rotting process.
Finally, and Sheri and I are not deluded by RV quality, the basin itself had large holes where the installers didn’t have the cuts correct. These were not just slight misfittings – they were square notches where the cuts where wrong and the basin was installed anyway. Not cool.
With all these problems, we committed to installing a better shower since we believe the shower, as-is (now it is as-was) was simply not usable.
Video of RV shower surround installation
Summary of steps for installing an RV shower surround
Time needed: 4 hours.
How to install a nice shower surround to make your RV shower waterproof.
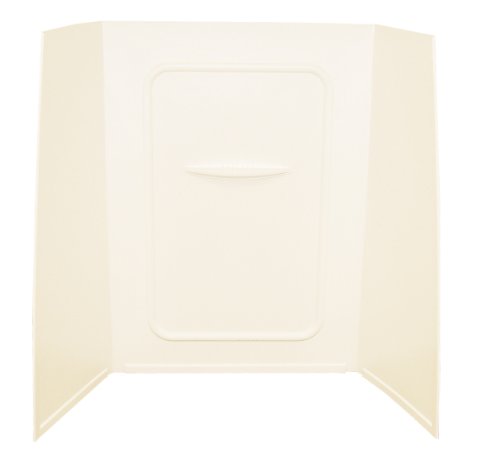
- Measure size of rv shower surround needed by measuring the width, depth, and height where you will place the surround
- Have materials on hand
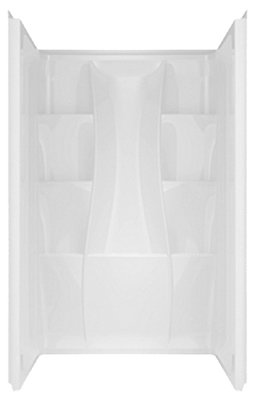
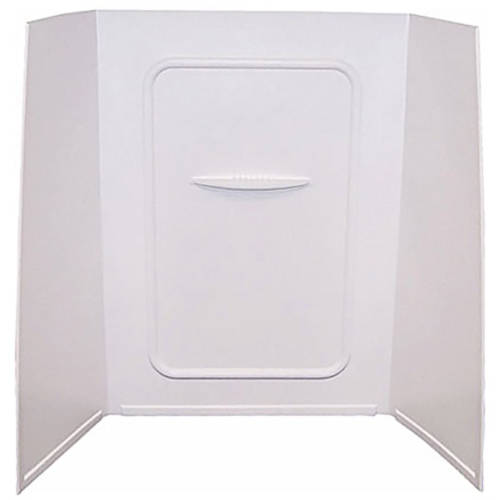
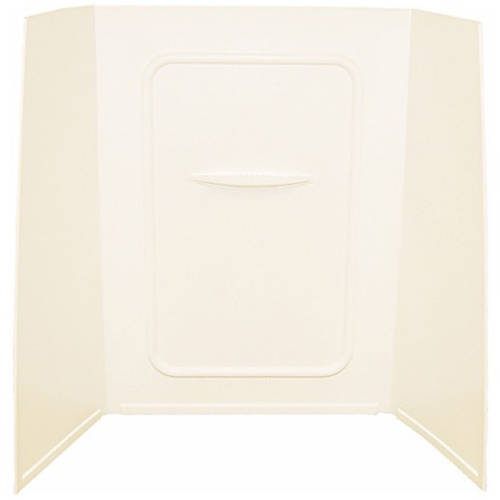
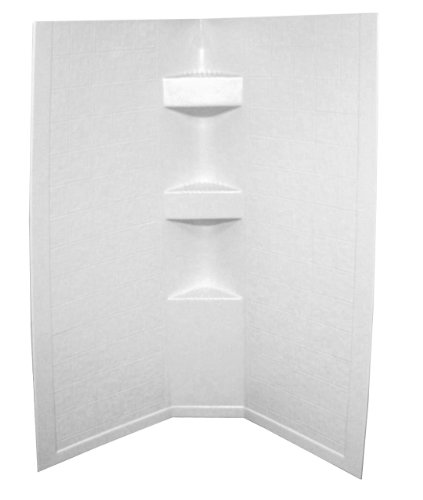
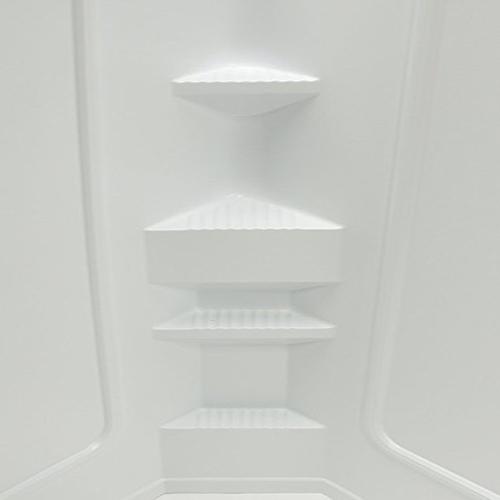
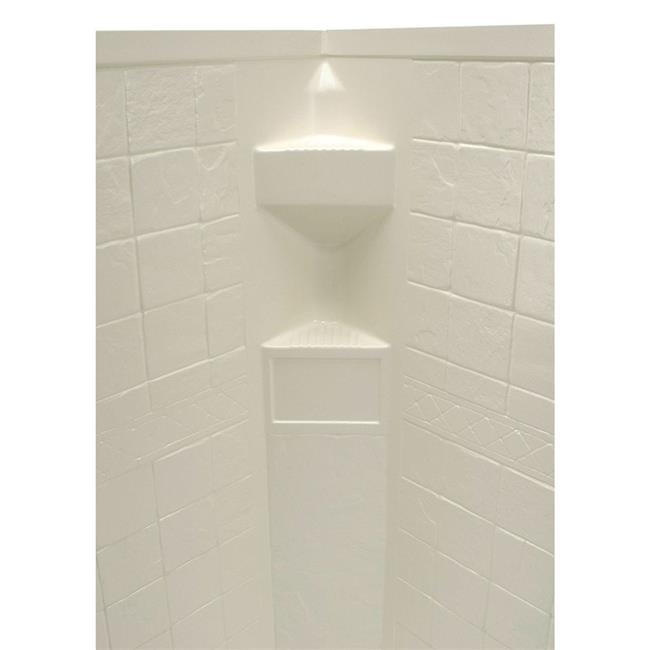
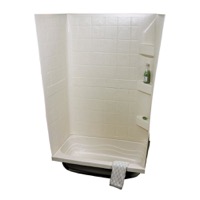
RV Shower Surround – find here on Amazon for this exact one
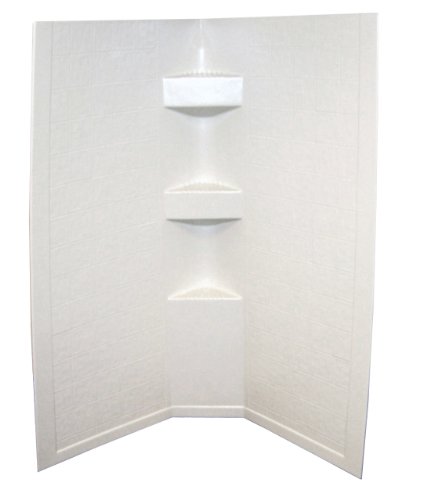
on Camping World shower surrounds<- I purchased mine here
and also comparison shop for RV shower surrounds
Plywood braces (I didn’t do this, but I’ll recommend)
2×4 to use with the plywood braces to get a better glue connection between the surround and the wall.
Gorilla glue – find here(or click here and Comparison shop and save)
Screws to secure edges of surround to the wall – I used these
Caulk
Having a roller to nicely press shower surround in place after gluing would be nice
Painter’s tape - Turn off water and bleed out any pressure
- Remove flashing from current shower basin.
- Remove the shower faucet
- Measure placement of location of water hoses cutout(s) in the wall
- Use measurements to create cutout in shower surround
- Double check cutout measurements, even going so far to place shower surround in tub and eyeball the placement
- Cut hole in shower surround
- Test fit shower surround
- Remove all debris and clean where rv shower surround will be glued
(Update: You might even clean with rubbing alcohol to get rid of ANYTHING that stops good glue sticking. This is a very minor extra amount of work – highly recommended. Ours stuck OK, but the caulking had to be redone as caulk did not stick to the shower)
- Apply glue LIBERALLY to the back of the shower surround
- Place shower surround into shower
Remember you’ve already test fit this so you know it will work
- Use roller to really get the glue smashed and the shower surround firmly in place
- If you have them, use the plywood and 2×4 to firmly press and hold the shower surround in place.
- Place painters tape around the edges.
- Put screws at nice intervals where the shower needs a little help being held in place.
See my pictures. I did it AFTER glue was dry, but I think before is better.
- Come back in a day or two. Glue will be setup by then.
- Remove the painters tape
- If you used 2×4 & plywood to hold in place, remove
- Replace the shower faucet if it is in good shape
This is a good time to put water pressure on the system and check for leaks BEFORE you put the shower faucet back in place. (Added Nov 2019 from reader suggestions)
- Caulk EVERYTHING.
Make look nice. Use finger to smooth. That is what I do. A REAL painter will do better for sure.
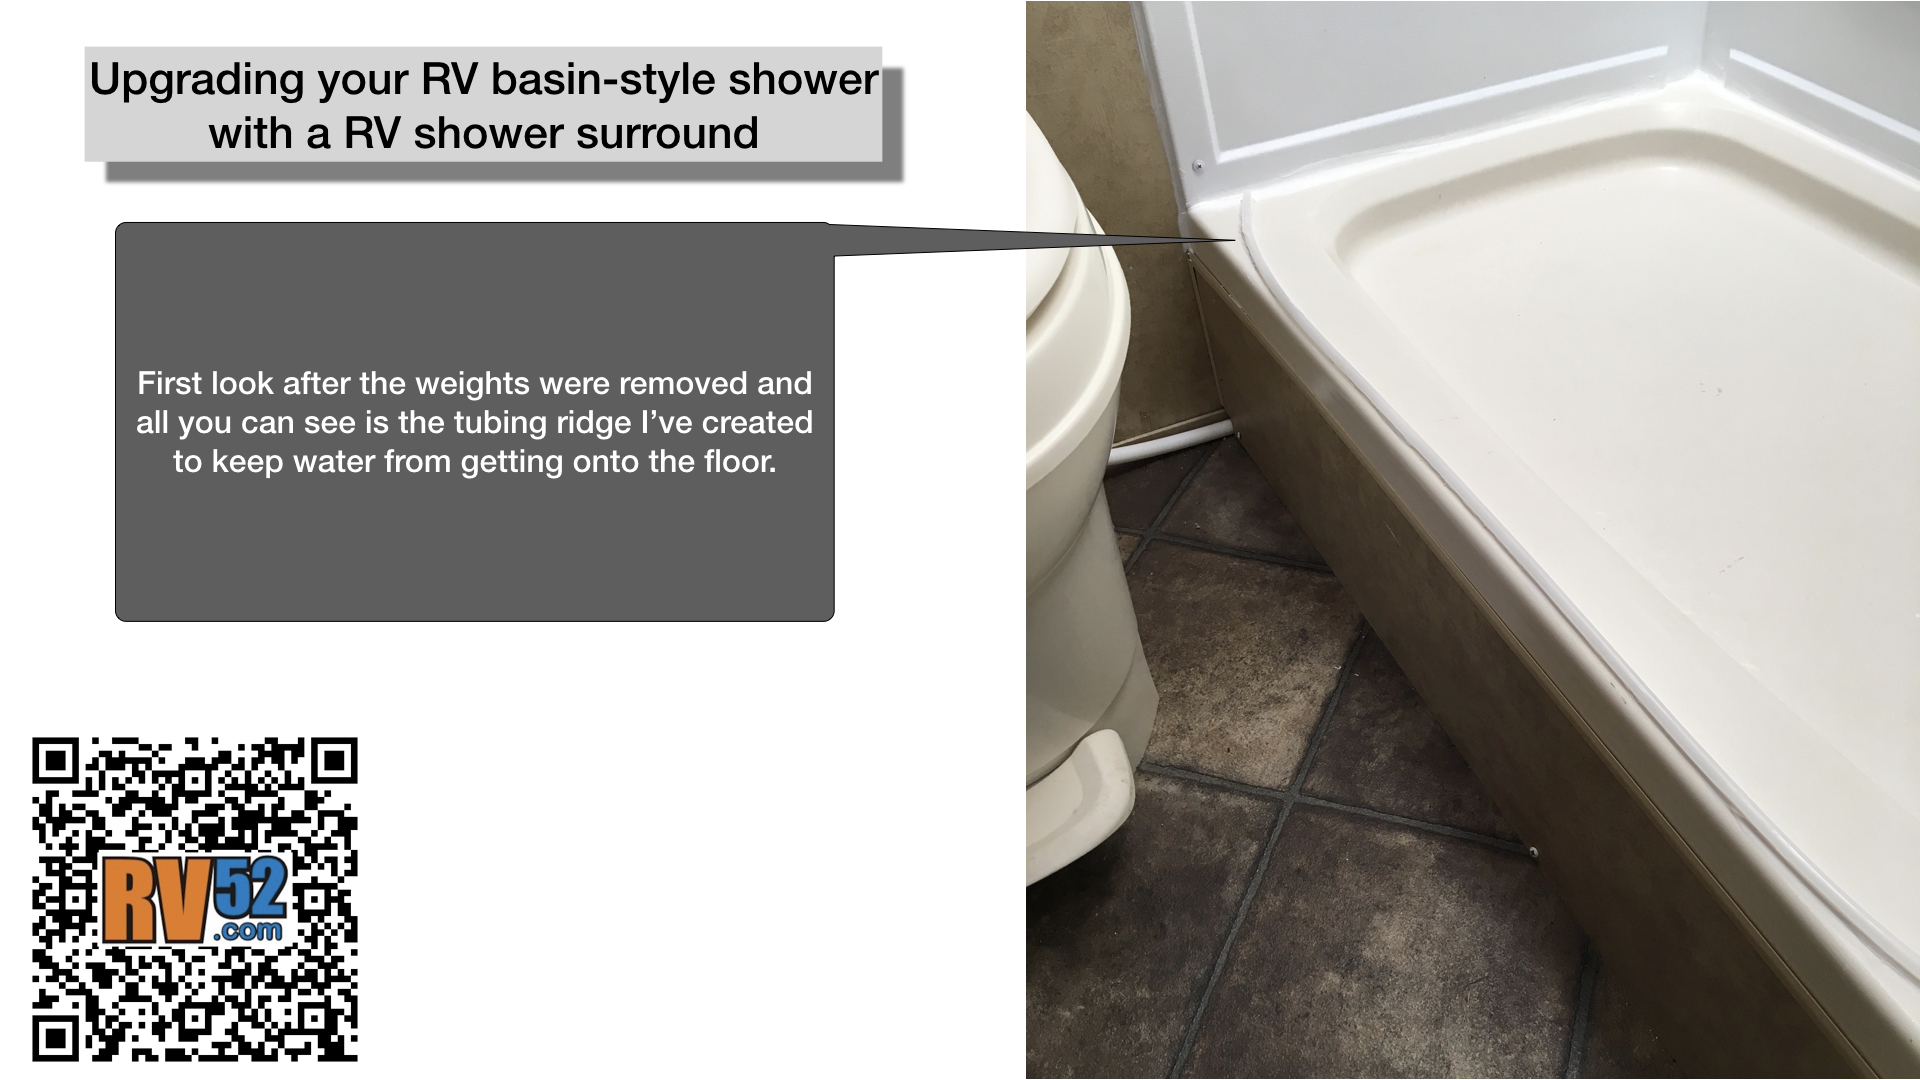
- If you don’t have a good “lip” to keep water from going over edge of basin you might consider copying what I did to create a lip.
- Turn on the water, check for leaks.
- Get yourself clean!
I’ll add a few more notes here that accentuate the steps above. Also my steps in conjunction with the picture gallery should be really helpful.
Here is a list of notes that you might find helpful:
Keep an eye on the Gorilla glue. The shower manufacturer states that it takes special glue to work with ABS plastic. I reviewed the Gorilla materials and it only said it wouldn’t work with polyethelene (any chemists out there?), but I don’t think ABS is that type of plastic. In general, where surrounds are used a reasonable assumption on the RV shower wall material is that it is ABS plastic.
Ignore the Amazon ratings for rv shower surrounds. Amazon ratings for the shower surround were not great. But I think people “get mixed up” and don’t rate on the correct things. The shower surround is a thin plastic shell (thick by some standards) which shower-i-fies a wall. The stiffness of the wall turns the flimsy surround into a decent shower. But people are comparing to a home shower surround which can be much more substantial due to space and weight. Just know what you are buying and understand the difference.
The spray paint can trigger button is super awesome. It is a real game changer. Not such a big deal for 10 little screws, but my other project where I’m spraying 100s and 100s of secure bar holder.
I didn’t do such great planning. My BIG ADVICE to you is to plan well how you will PRESS the rv shower surround into the glue and the wall and hold in place for about 10 minutes. I think I did ok, but I wished I would have made some plywood braces.
To remove, repair, or examing an RV shower faucet, all you have to do is remove the screws to the riser that the faucet is mounted on. I only figured this out after I destroyed my faucet causing me to order a new one. They aren’t expensive, but that was a silly mistake on my part.
Here are the list of things I used where I found them on Amazon to save you time:
Please feel welcome to leave comments on what you’ve done that can improve on my steps lists above.
RV52 Master RV Parts Database for Shower Surrounds
12 Search Results for RV Interior bathroom
Search Results
Need Help?
 24/7 Help






Leave a Reply